Pastelão de Frango
Pastelão de frango (literally big chicken turnover) was a dish that my mother always liked to make
when I was growing up. When in college, my friend Horácio and I loved to go back home after class on
Friday evenings to drink some beer and have warm-out-of-the-oven pastelão. On a trip to Santiago de
Compostela em 2017 I discovered that the origins of this dish is the traditional Empanada Gallega.
My recipe is significantly modified from both my mother’s and from the empanada Gallega.
I like the flakiness of puff pastry. However, if you use the puff pastry both for the bottom
and the top layer, the bottom layer will become grease and unpleasantly soft. For a better
texture, I combine traditional American pastry dough in the bottom with the puff pastry on the
top.
-
Ingredients:
-
-
Equipment:
-
- Two Light coloured baking sheet
- Rolling pin
- Dough scraper
- Clean-blade box cutter
- Pastry brush
- Small rotating pizza cutter to trim and cut dough
-
Procedure:
-
- Roll out the bottom pastry:
- Oil the baking sheet and dust it with flour, reserve.
- Roll out the chilled pastry dough until it covers the entire bottom surface of the
baking sheet.
- Roll the pastry in the rolling pin and unroll on top of the baking sheet.
- Trim the edges to make sure that only the bottom is covered.
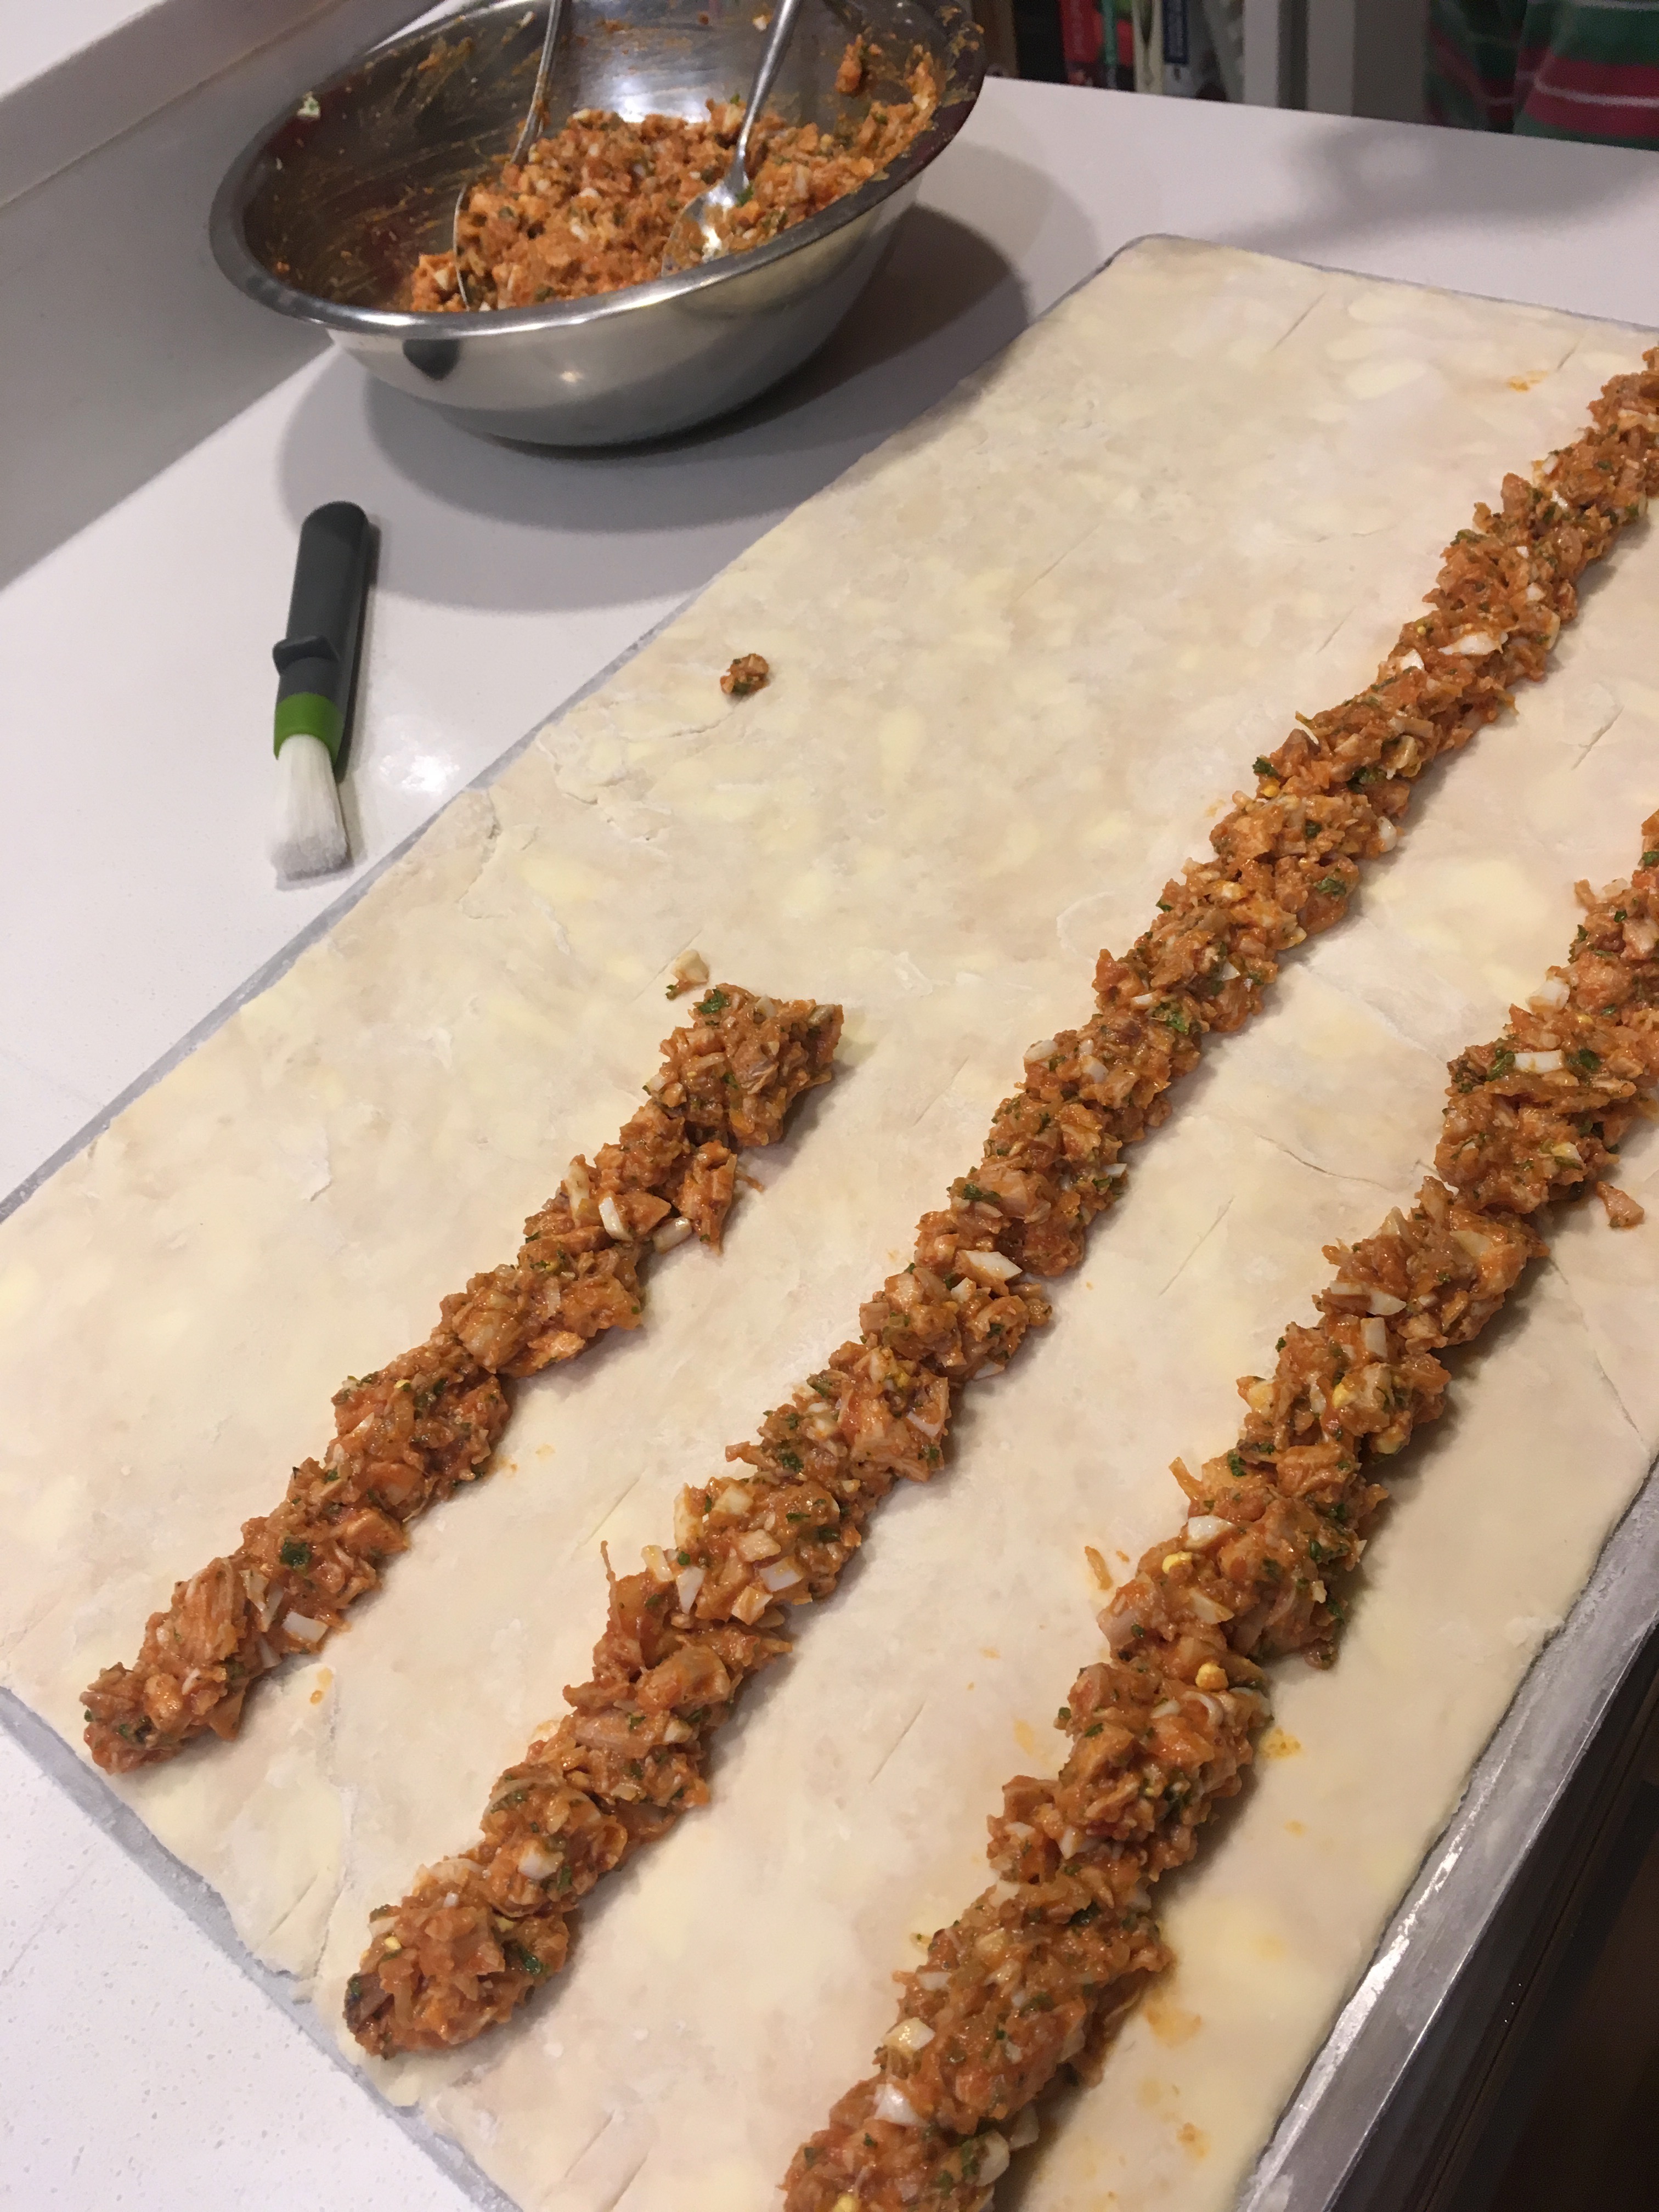
- Using a ruler visually divide the baking sheet into 3 or 4 long strips (each strip should
be between 2.5 and 3 inches wide).
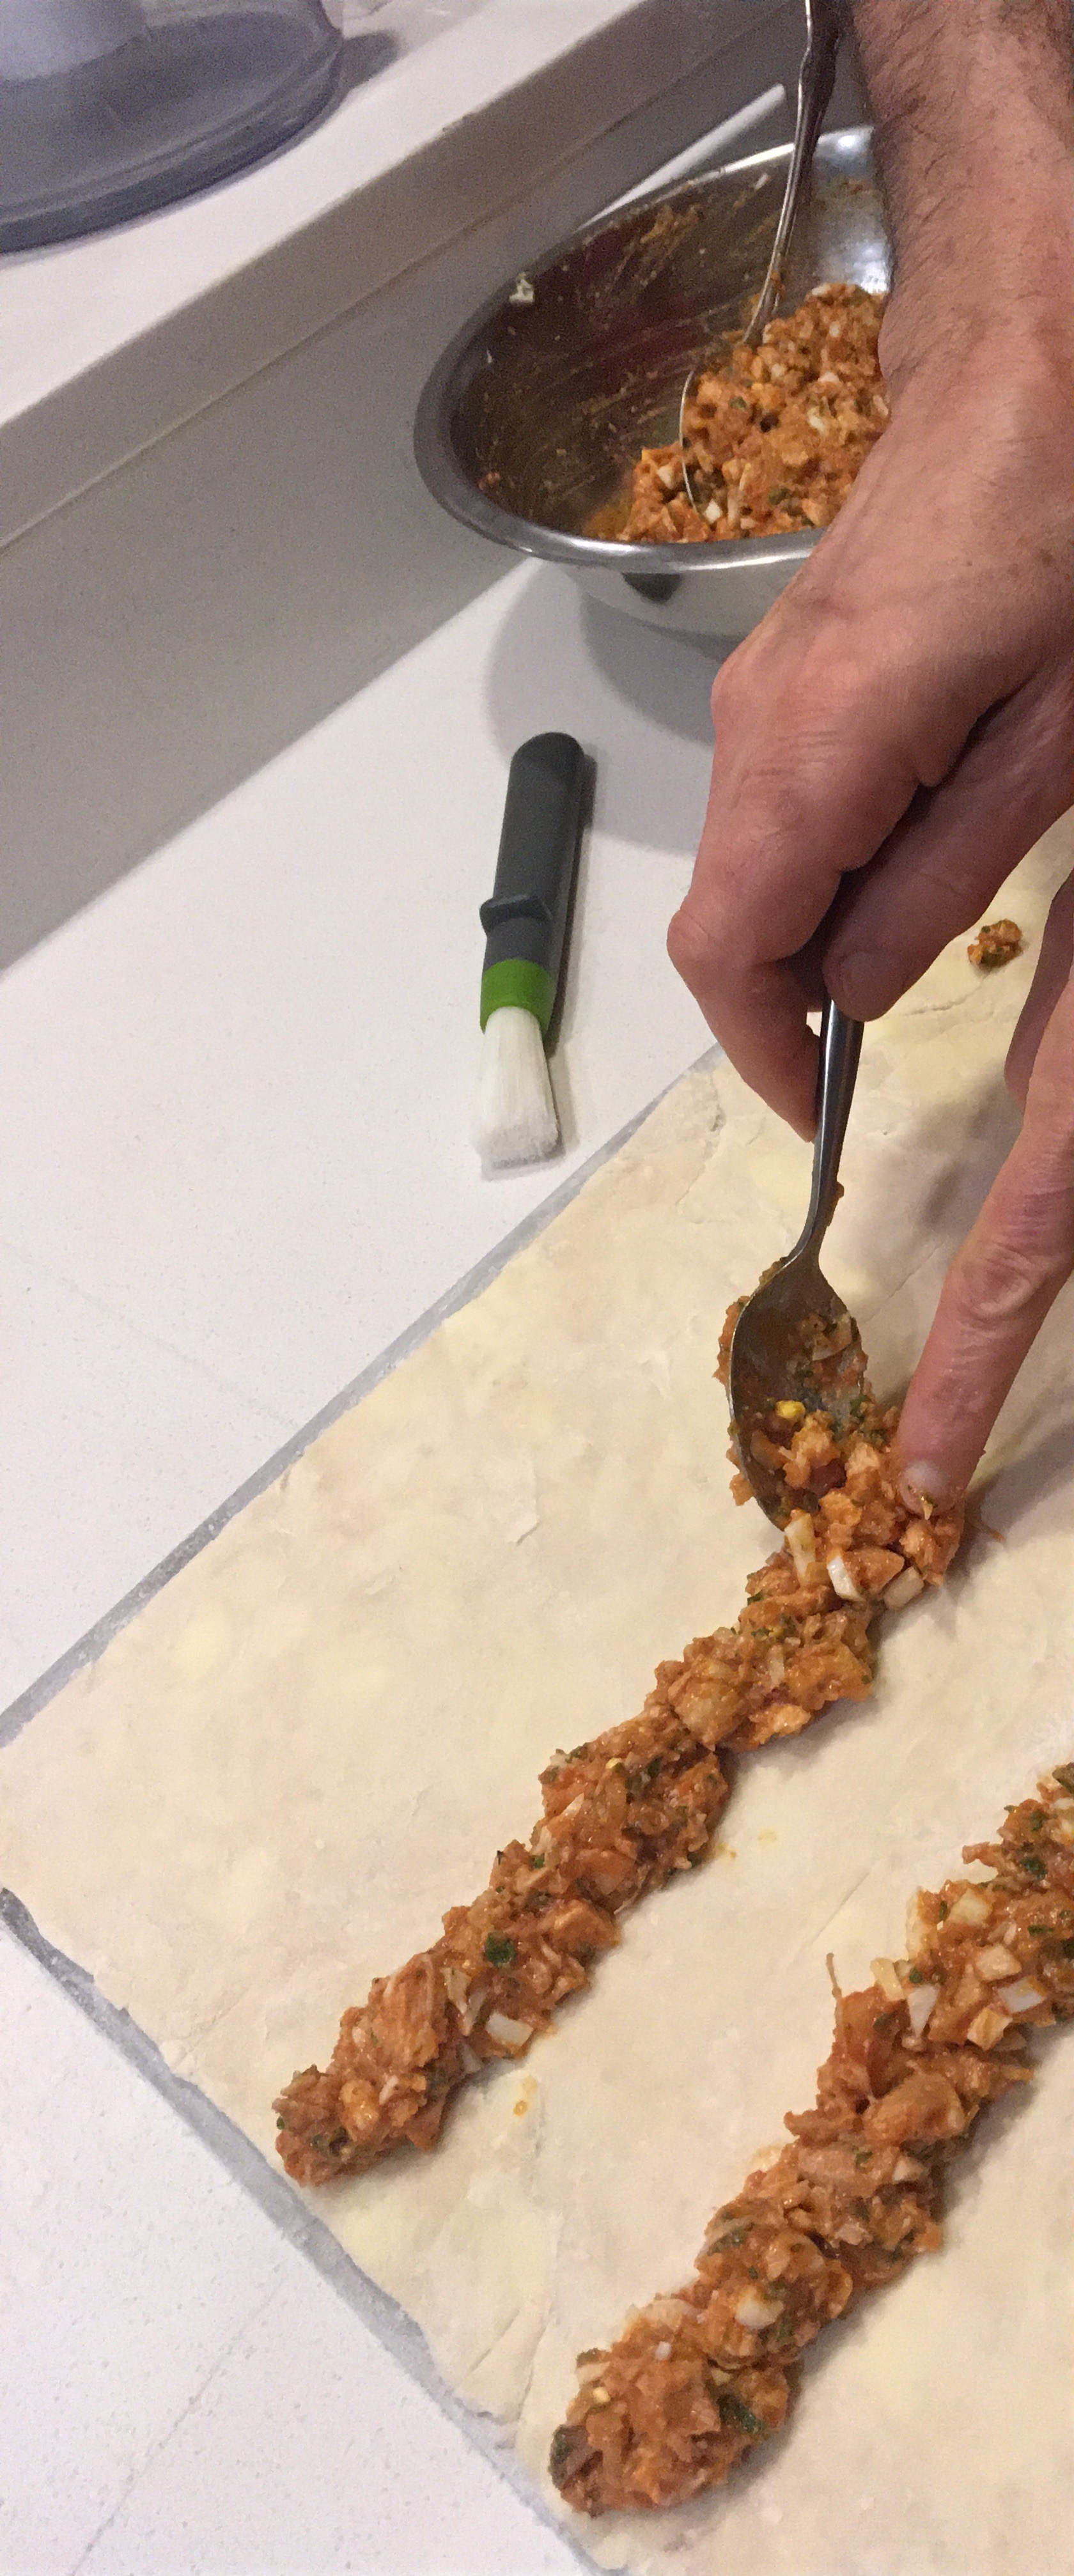
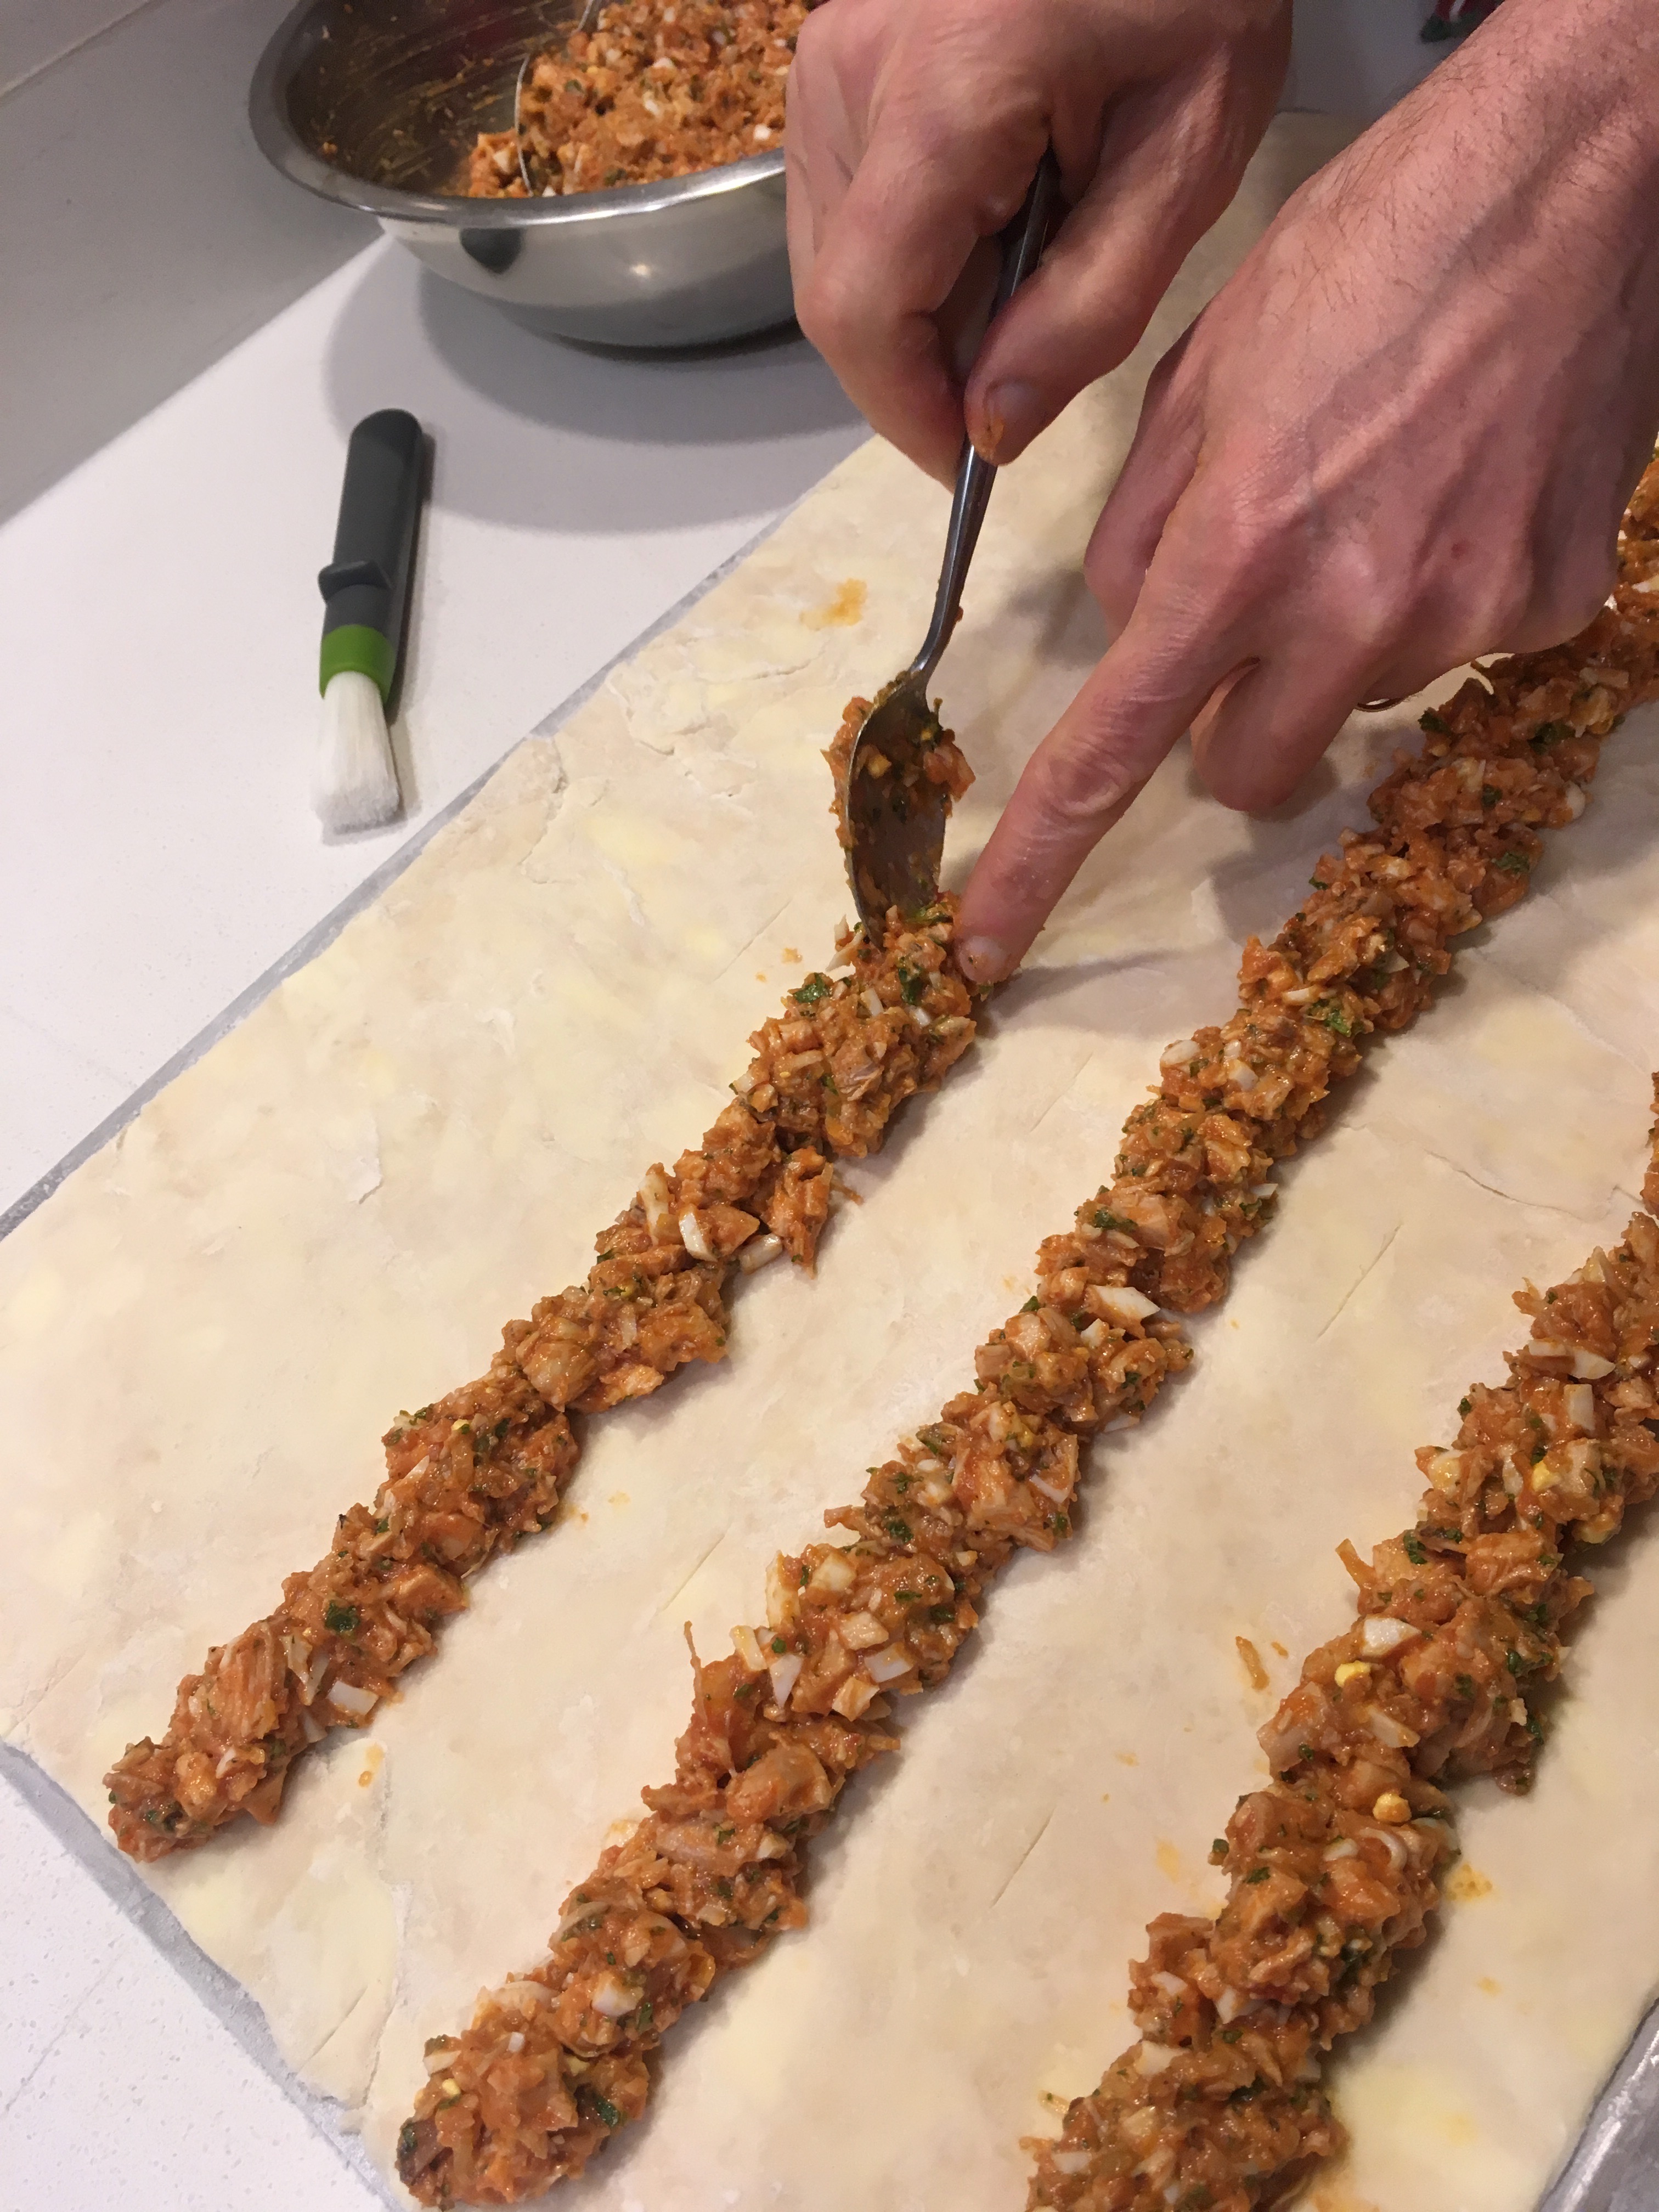
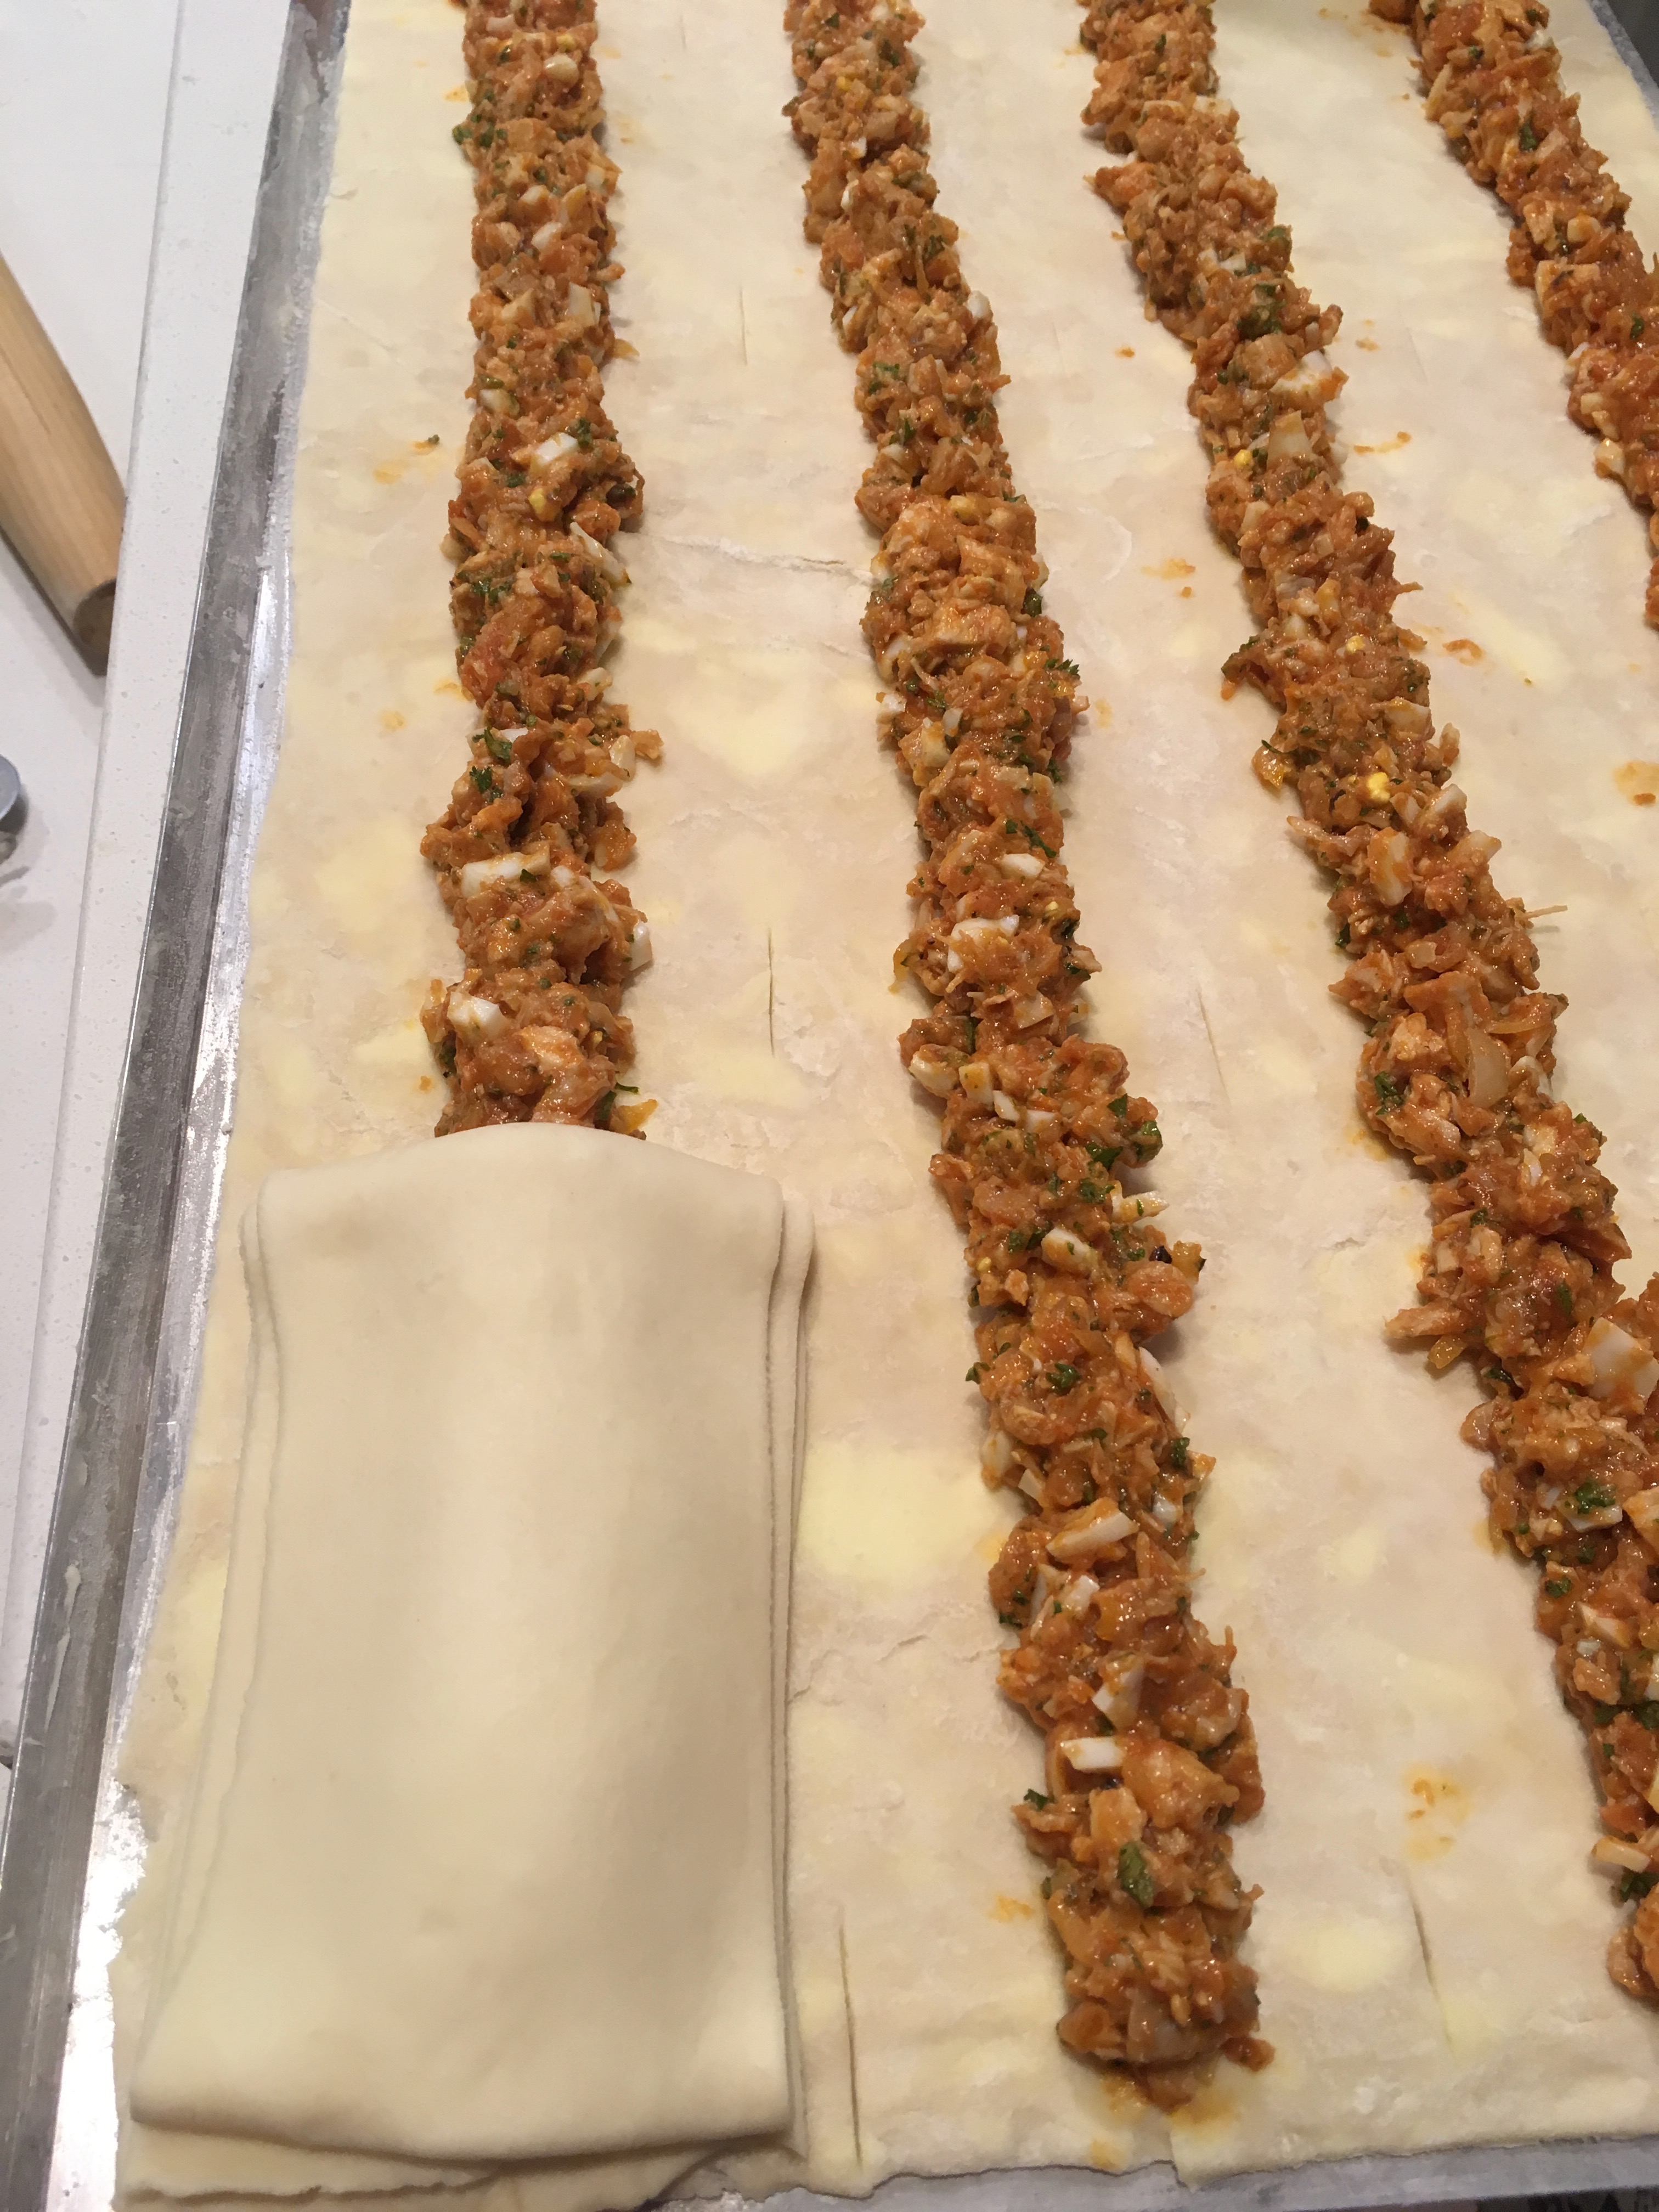
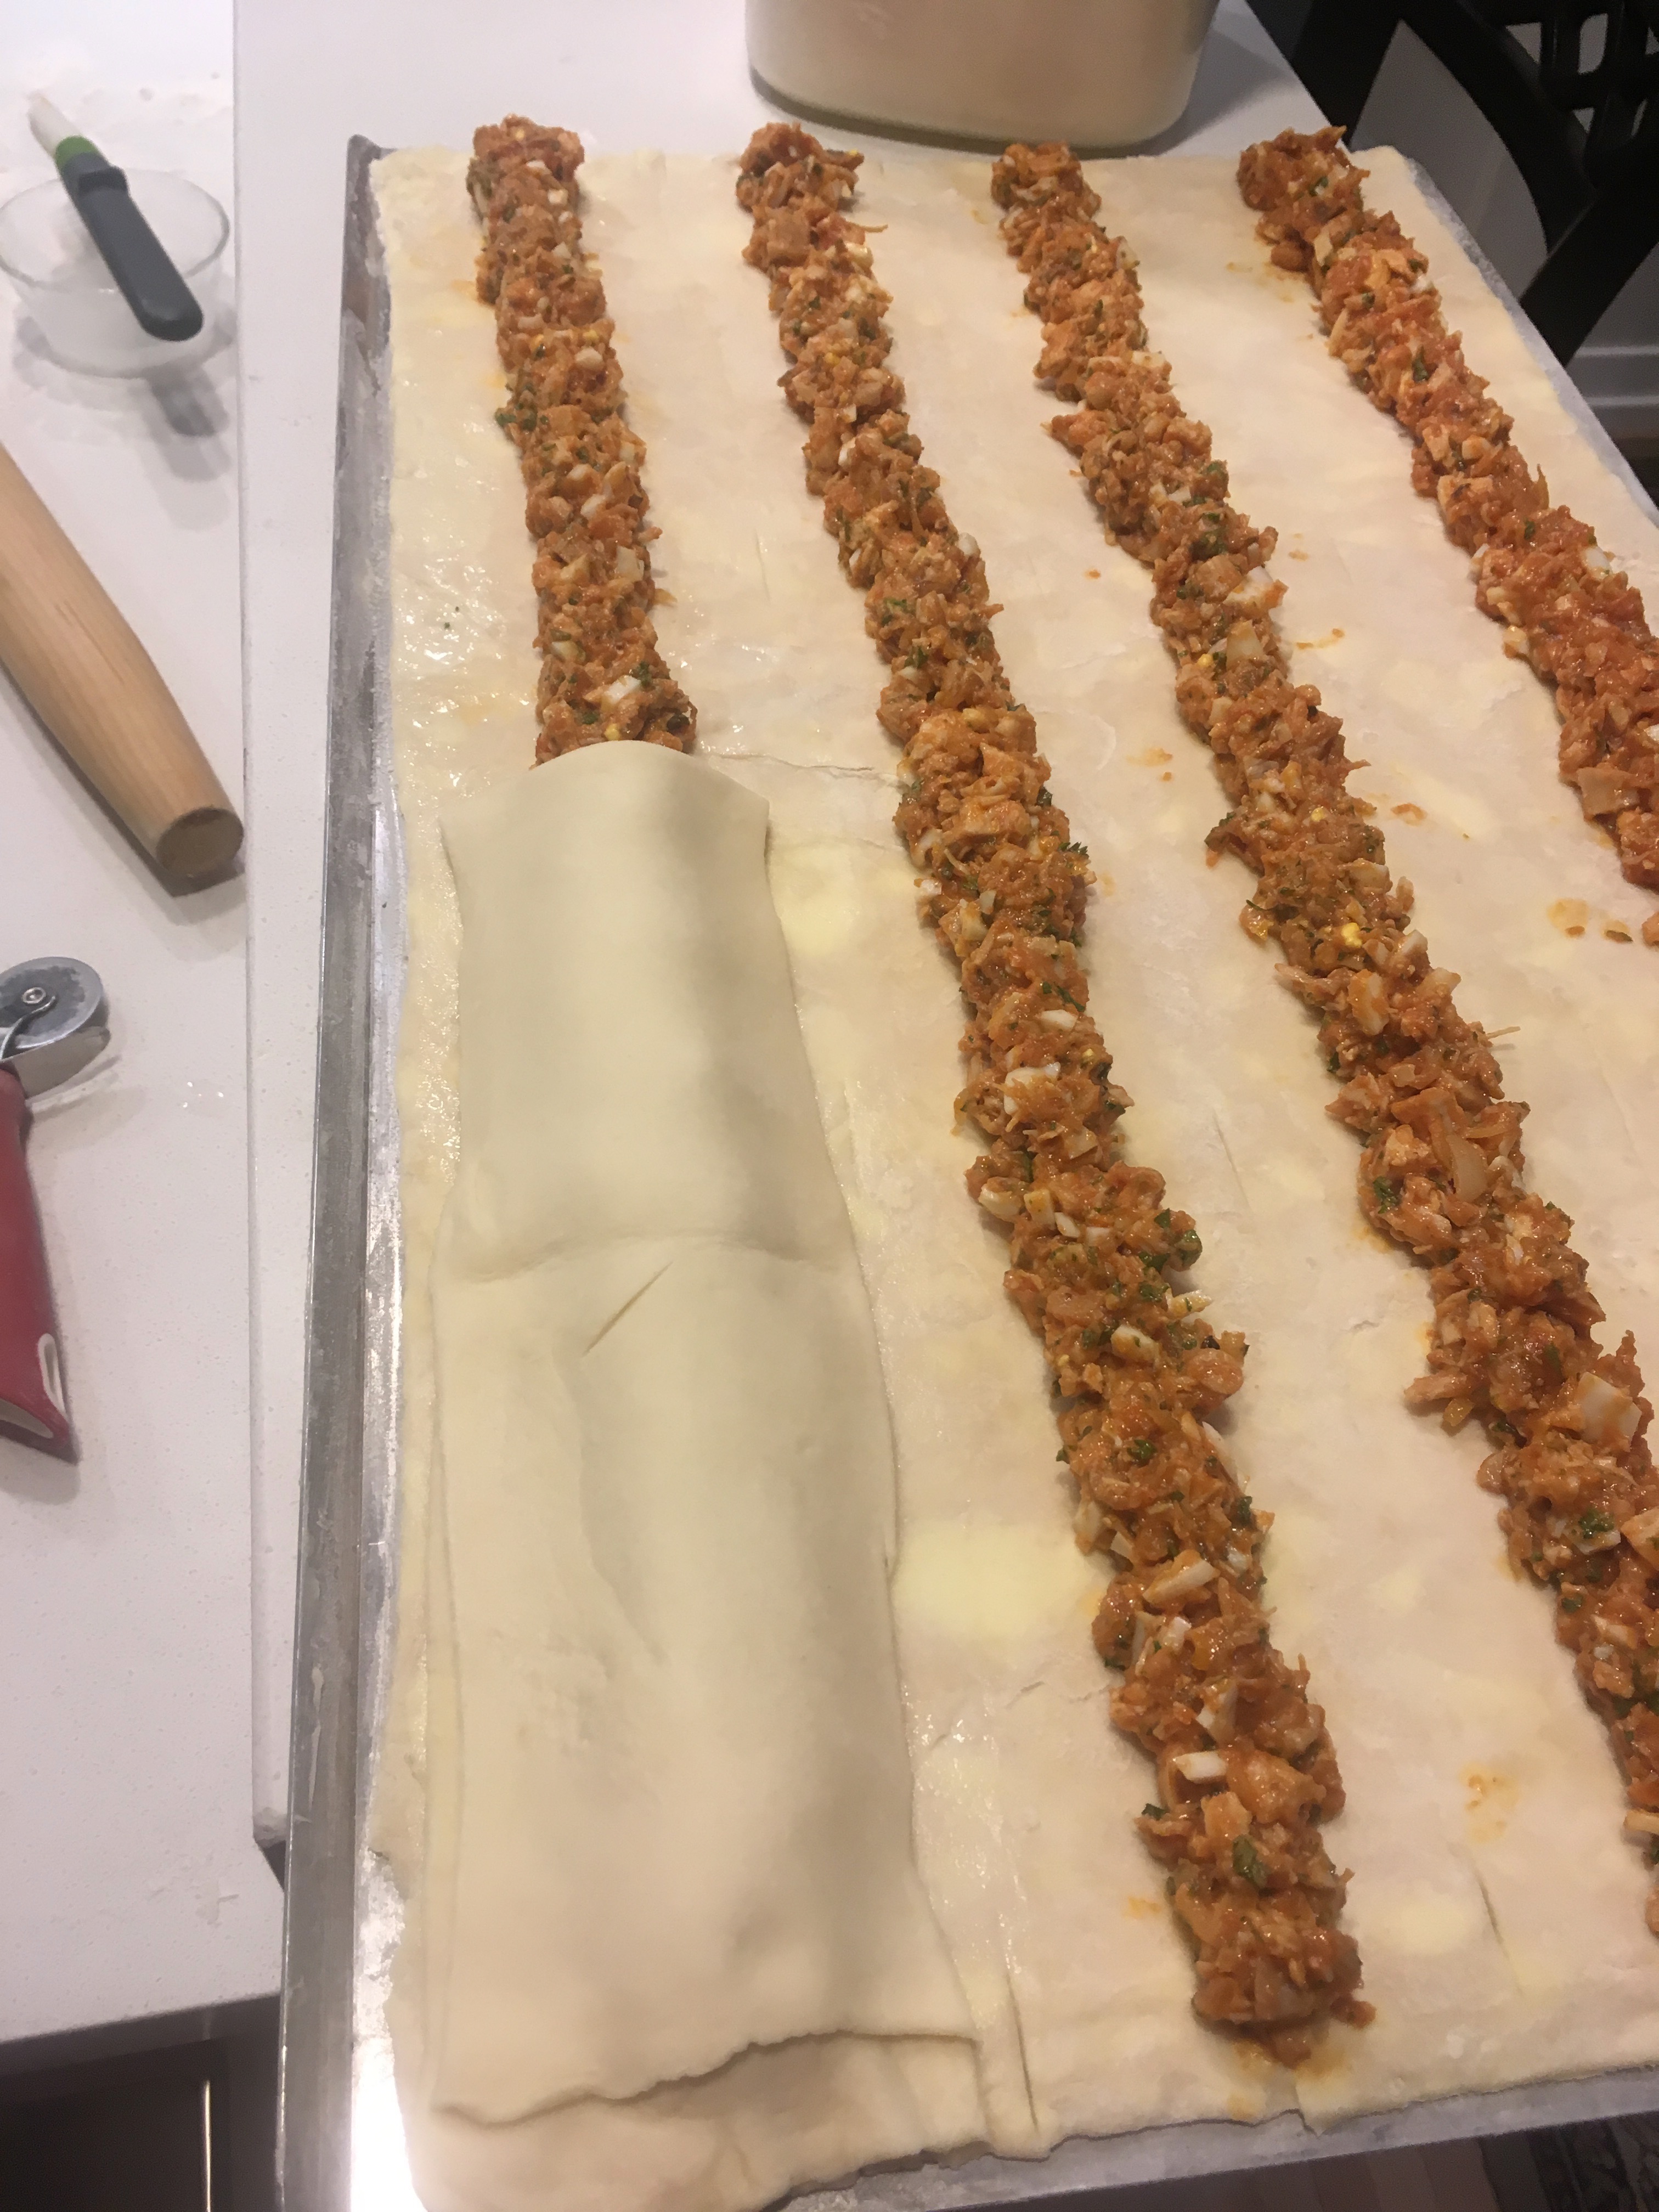
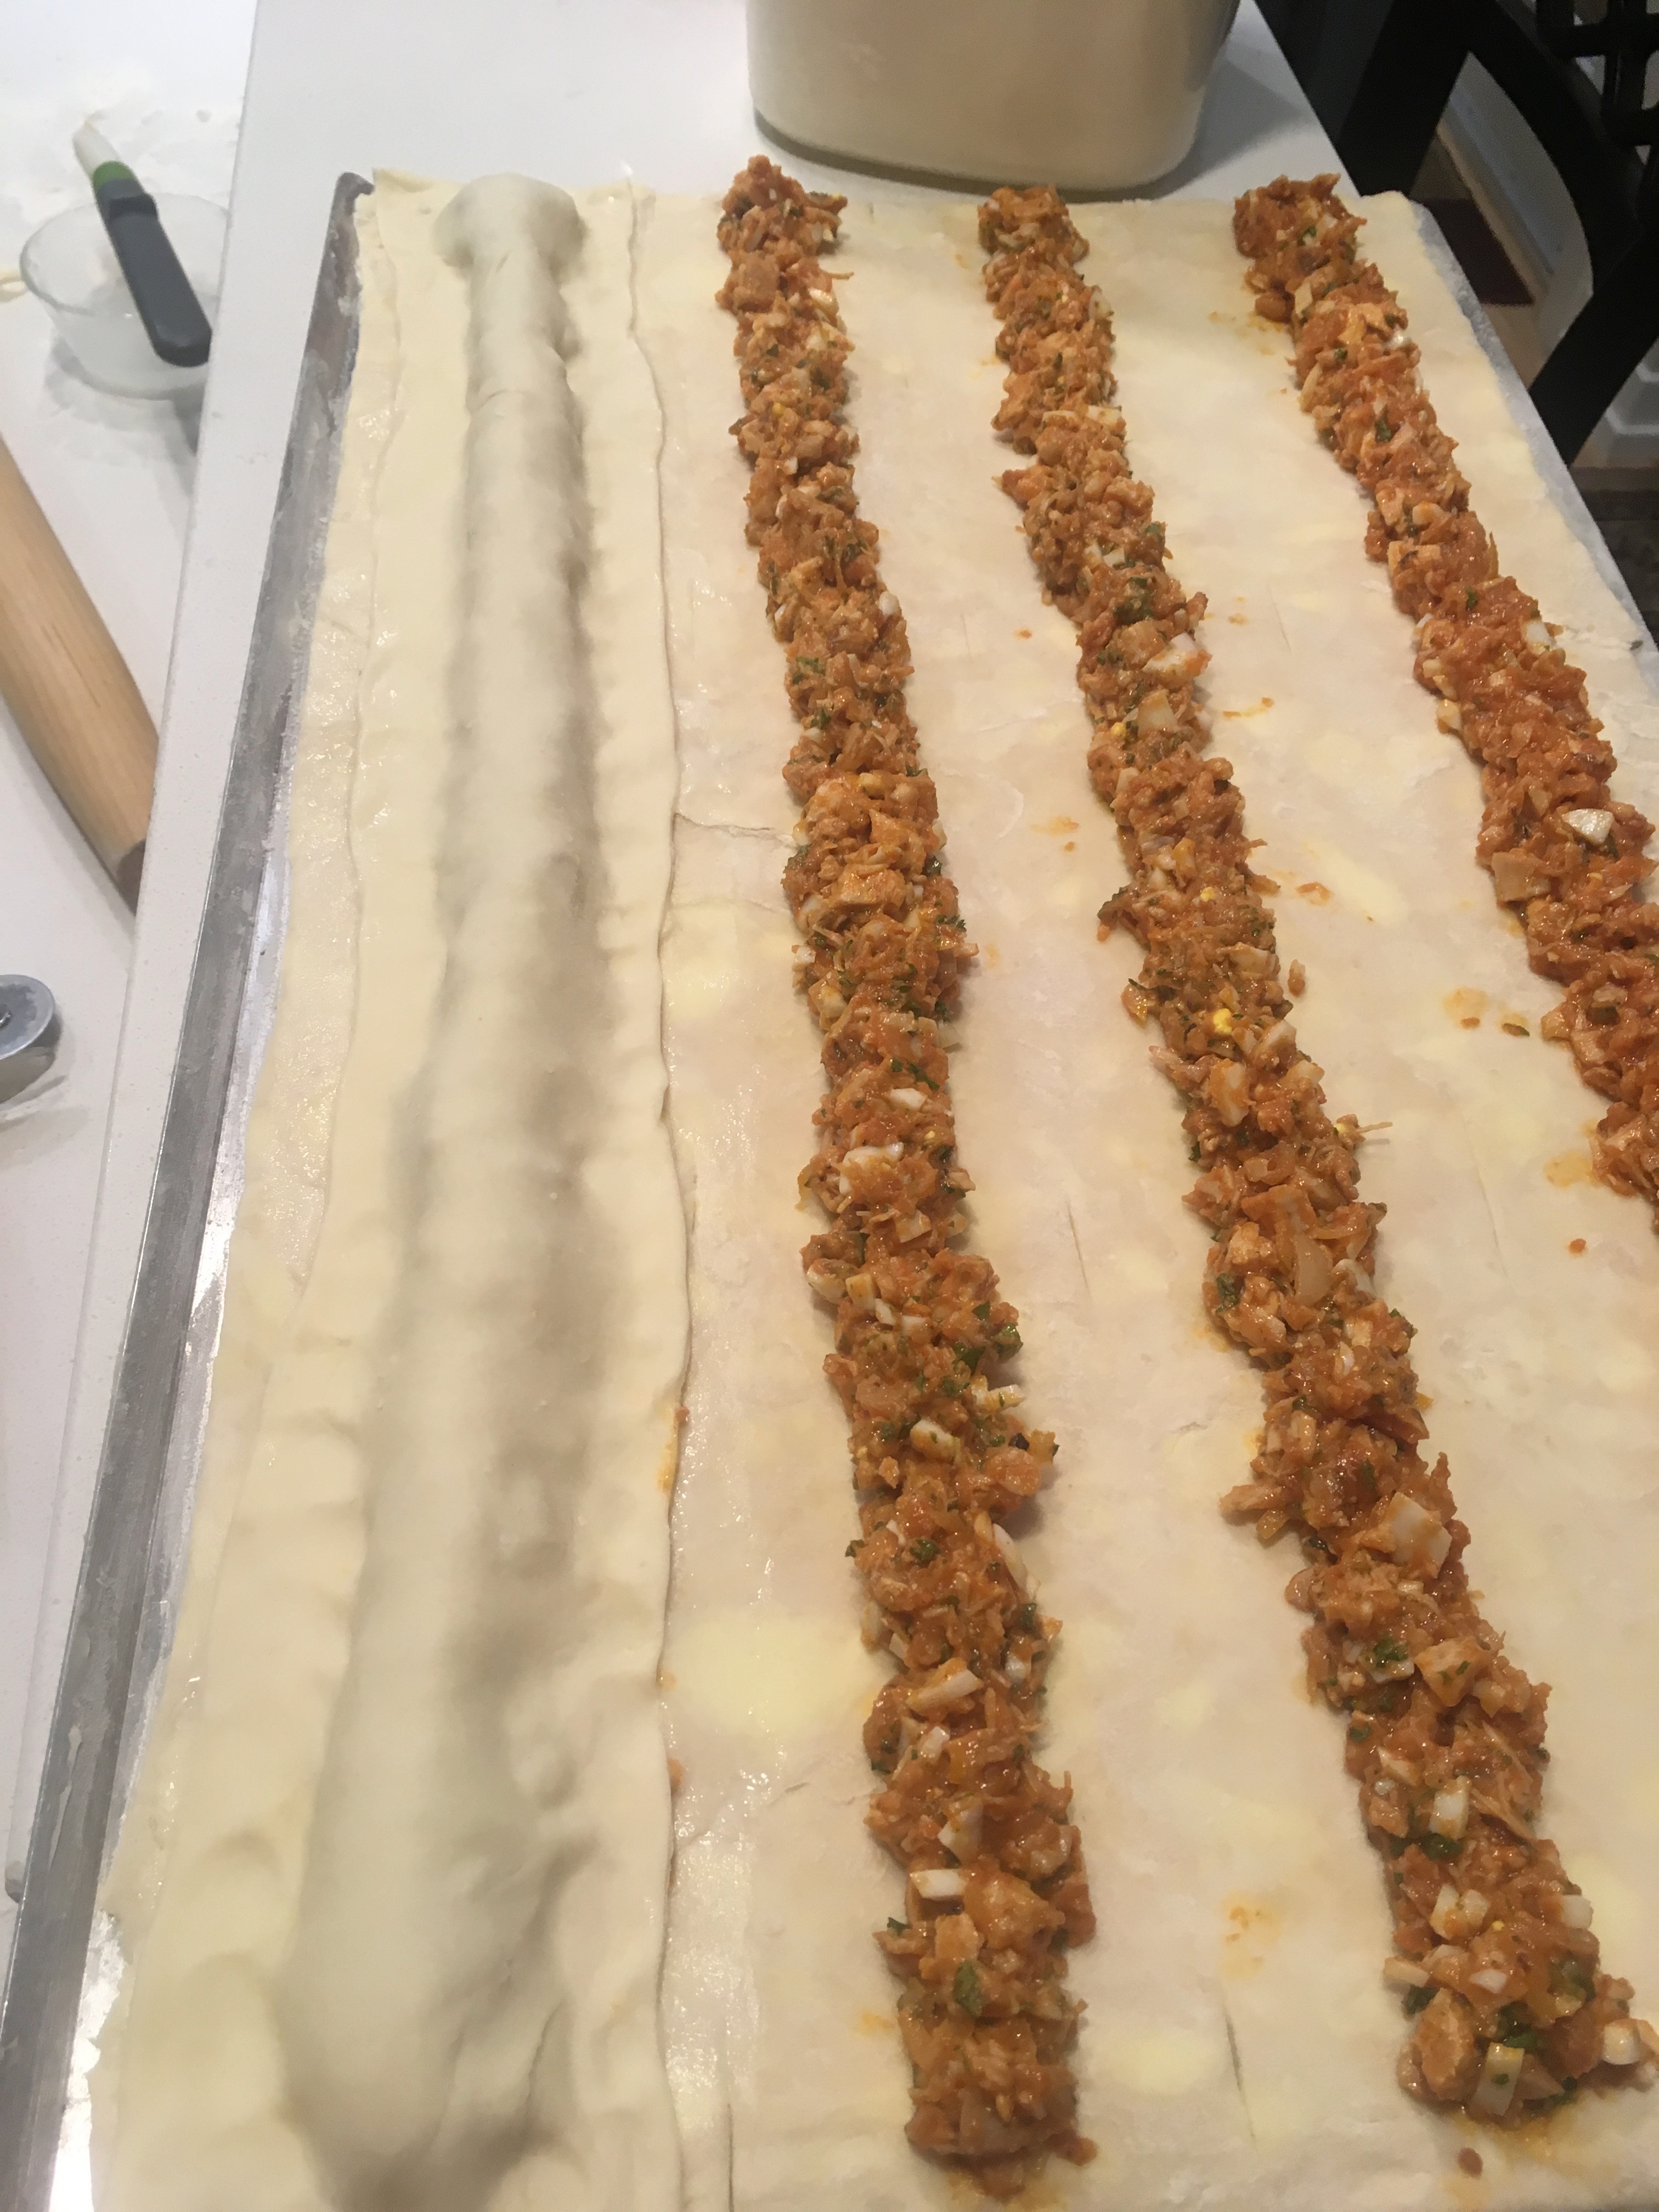
- Spread te filling:
- With a small spoon, spoon 1.0 to 1.5 inch-wide strip of chicken filling along the
centre of each strip.
- Put the baking sheet in the refrigerator while you work with the puff pastry.
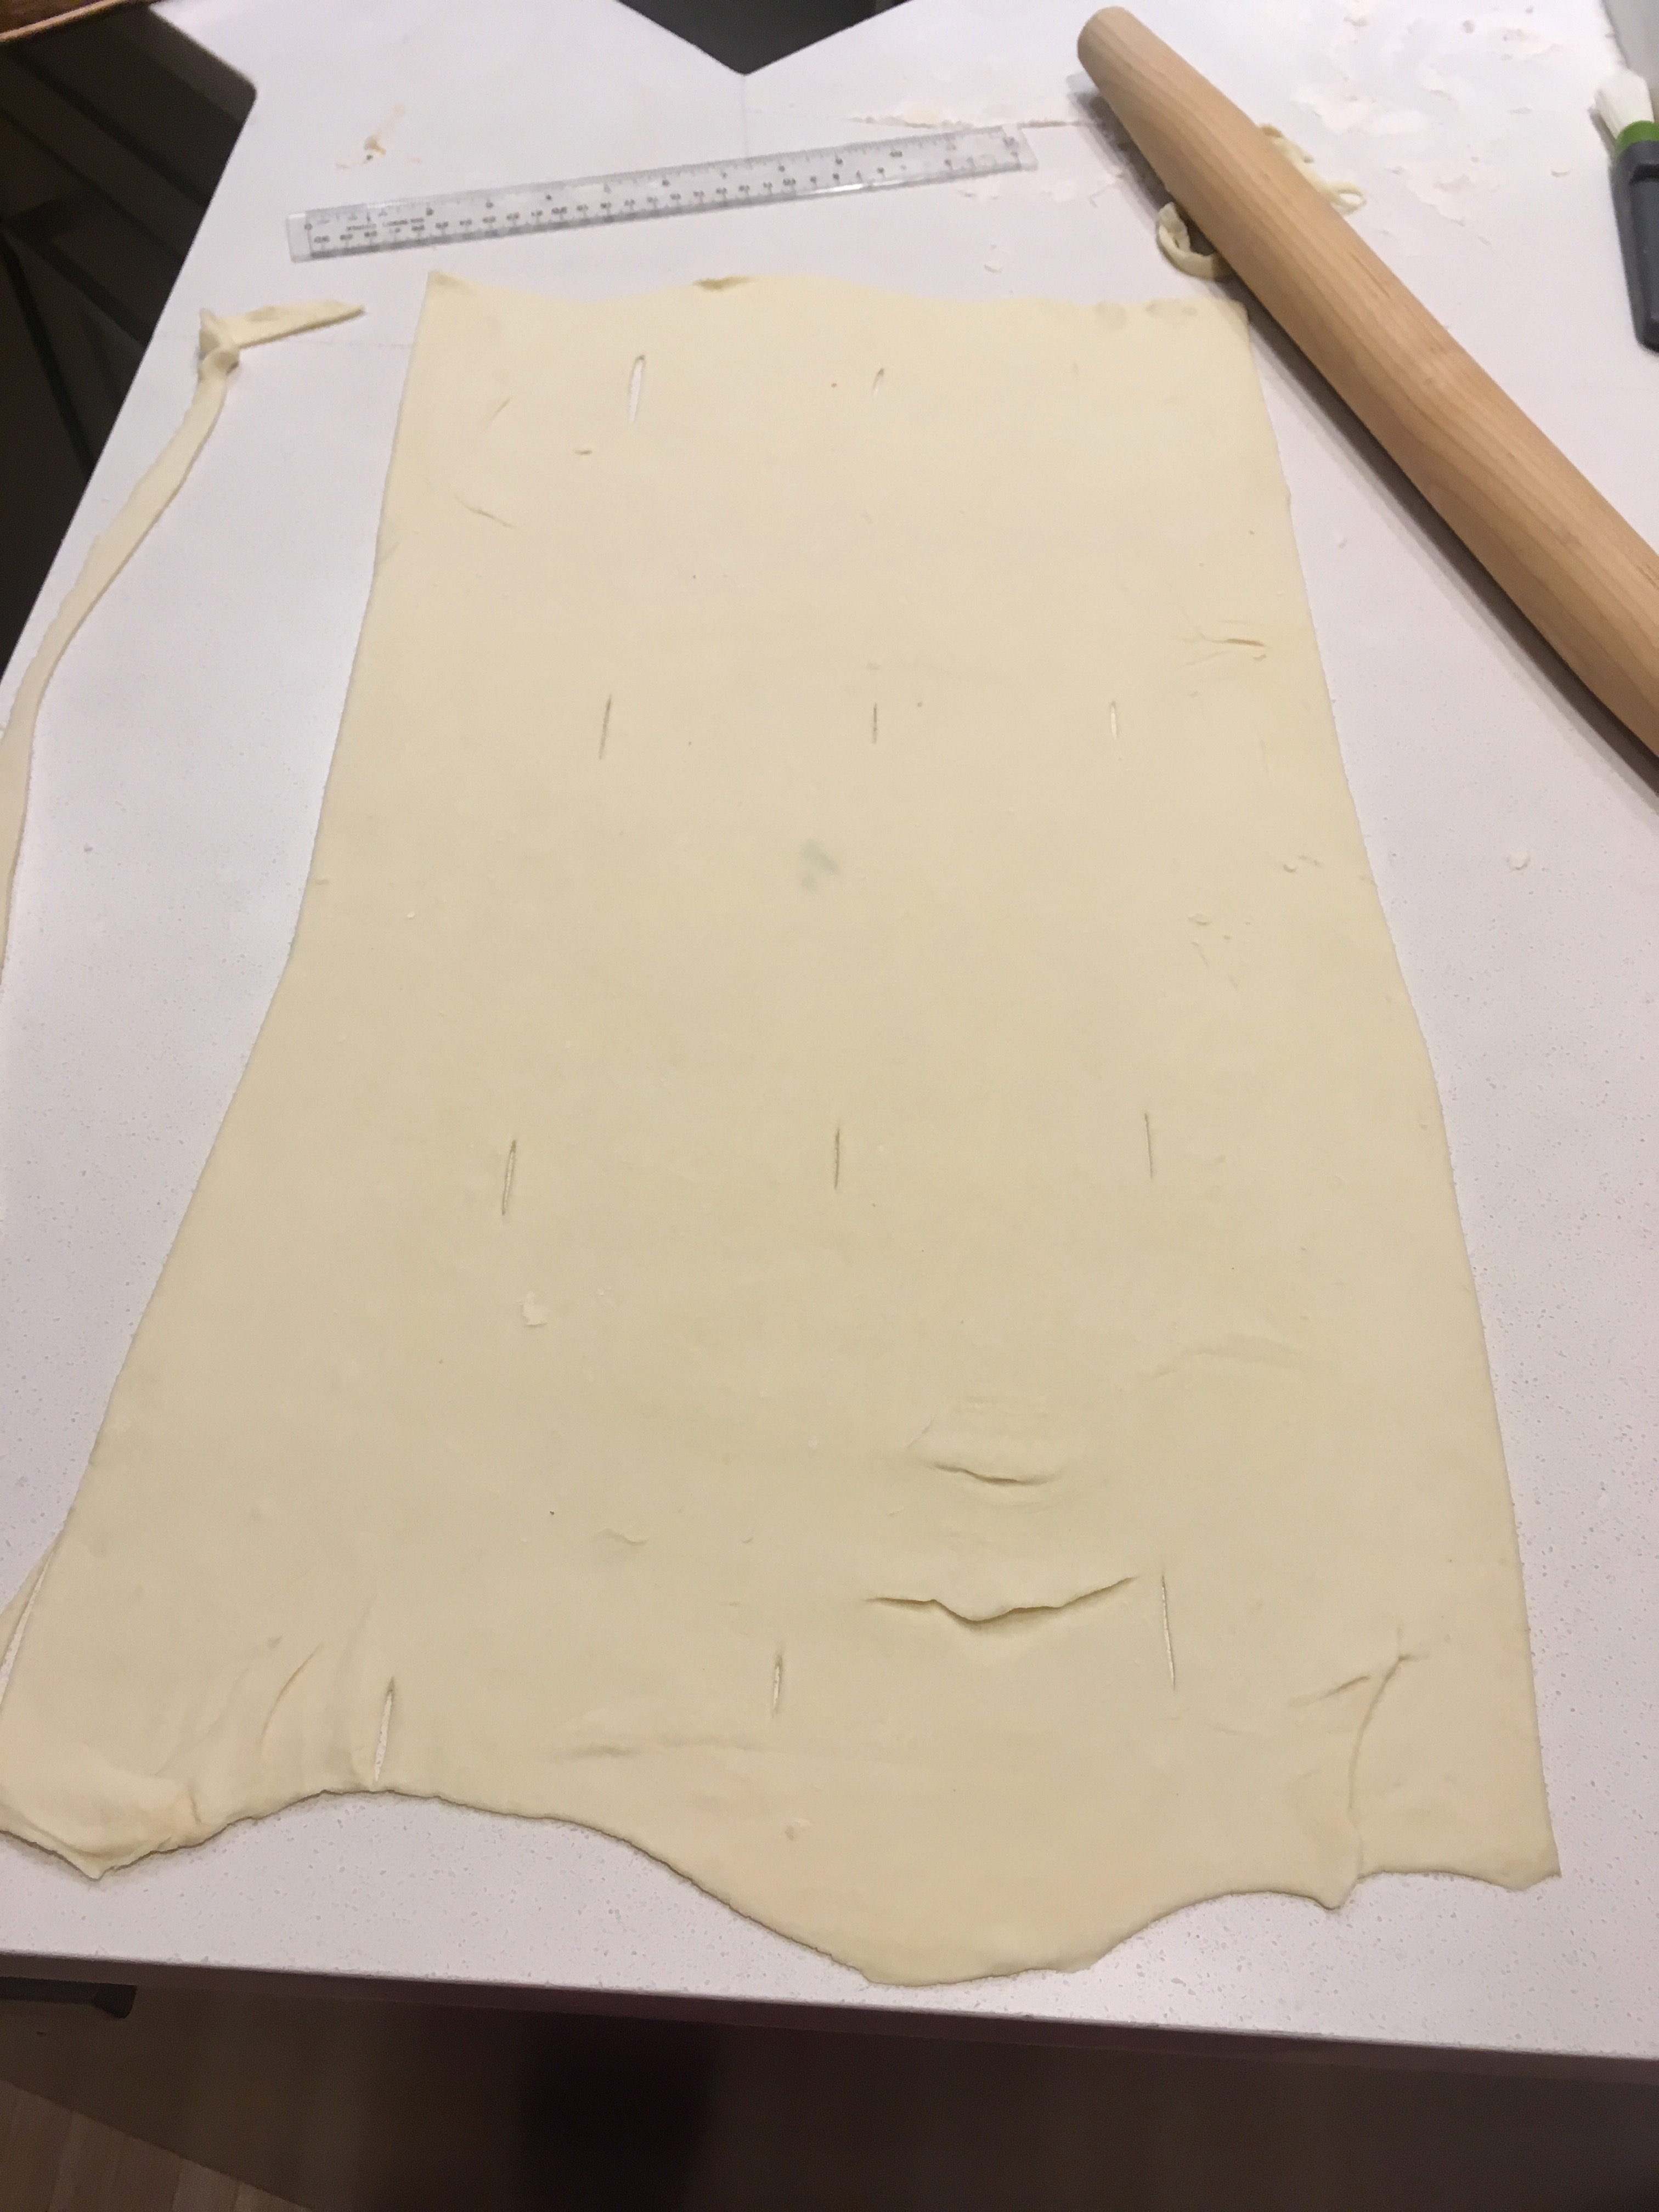
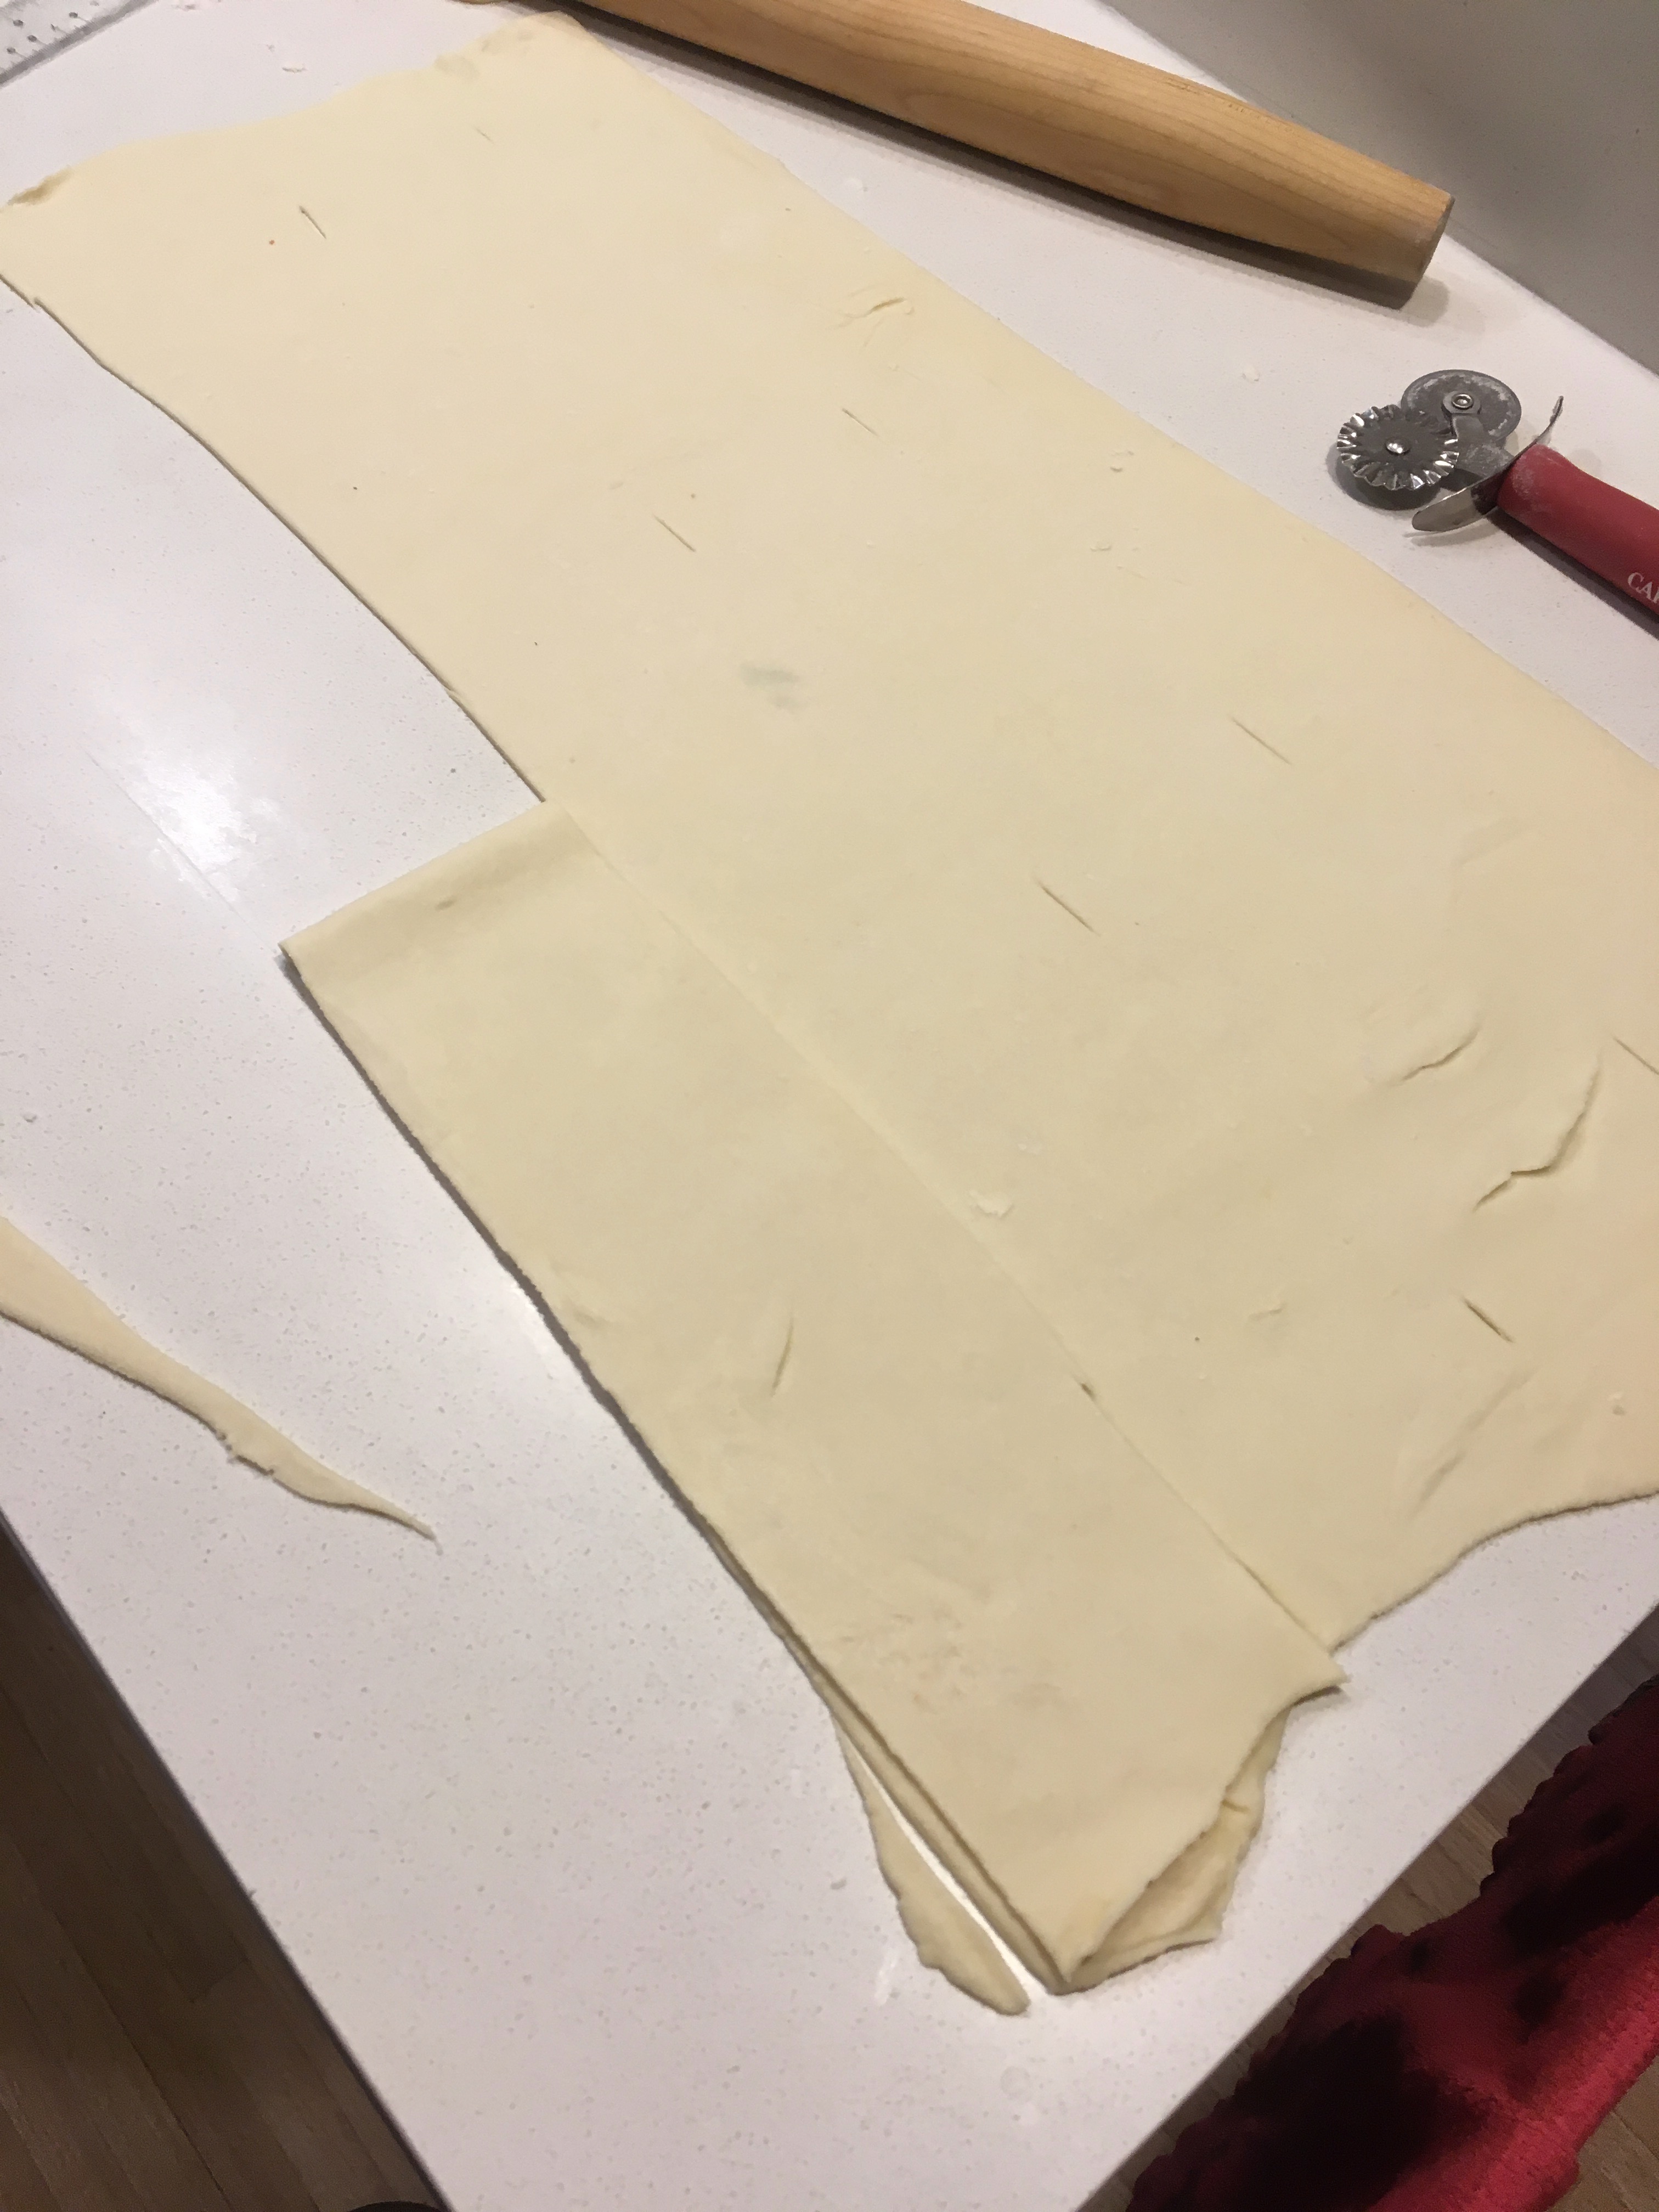
- Roll out and cut the top pastry:
- Roll out the chilled puff pastry dough to the same dimension of the baking sheet
(you may use a second baking sheet of the same size as a guide). It is easier to roll
if you start with a rectangular shape that has the same proportions as the baking
sheet. Make sure to use plenty of flour to dust the puff pastry while rolling and lift
the pastry from the bench (it will shrink back a bit when you lift). Stop rolling only
when the relaxed dough is at the size of the baking sheet.
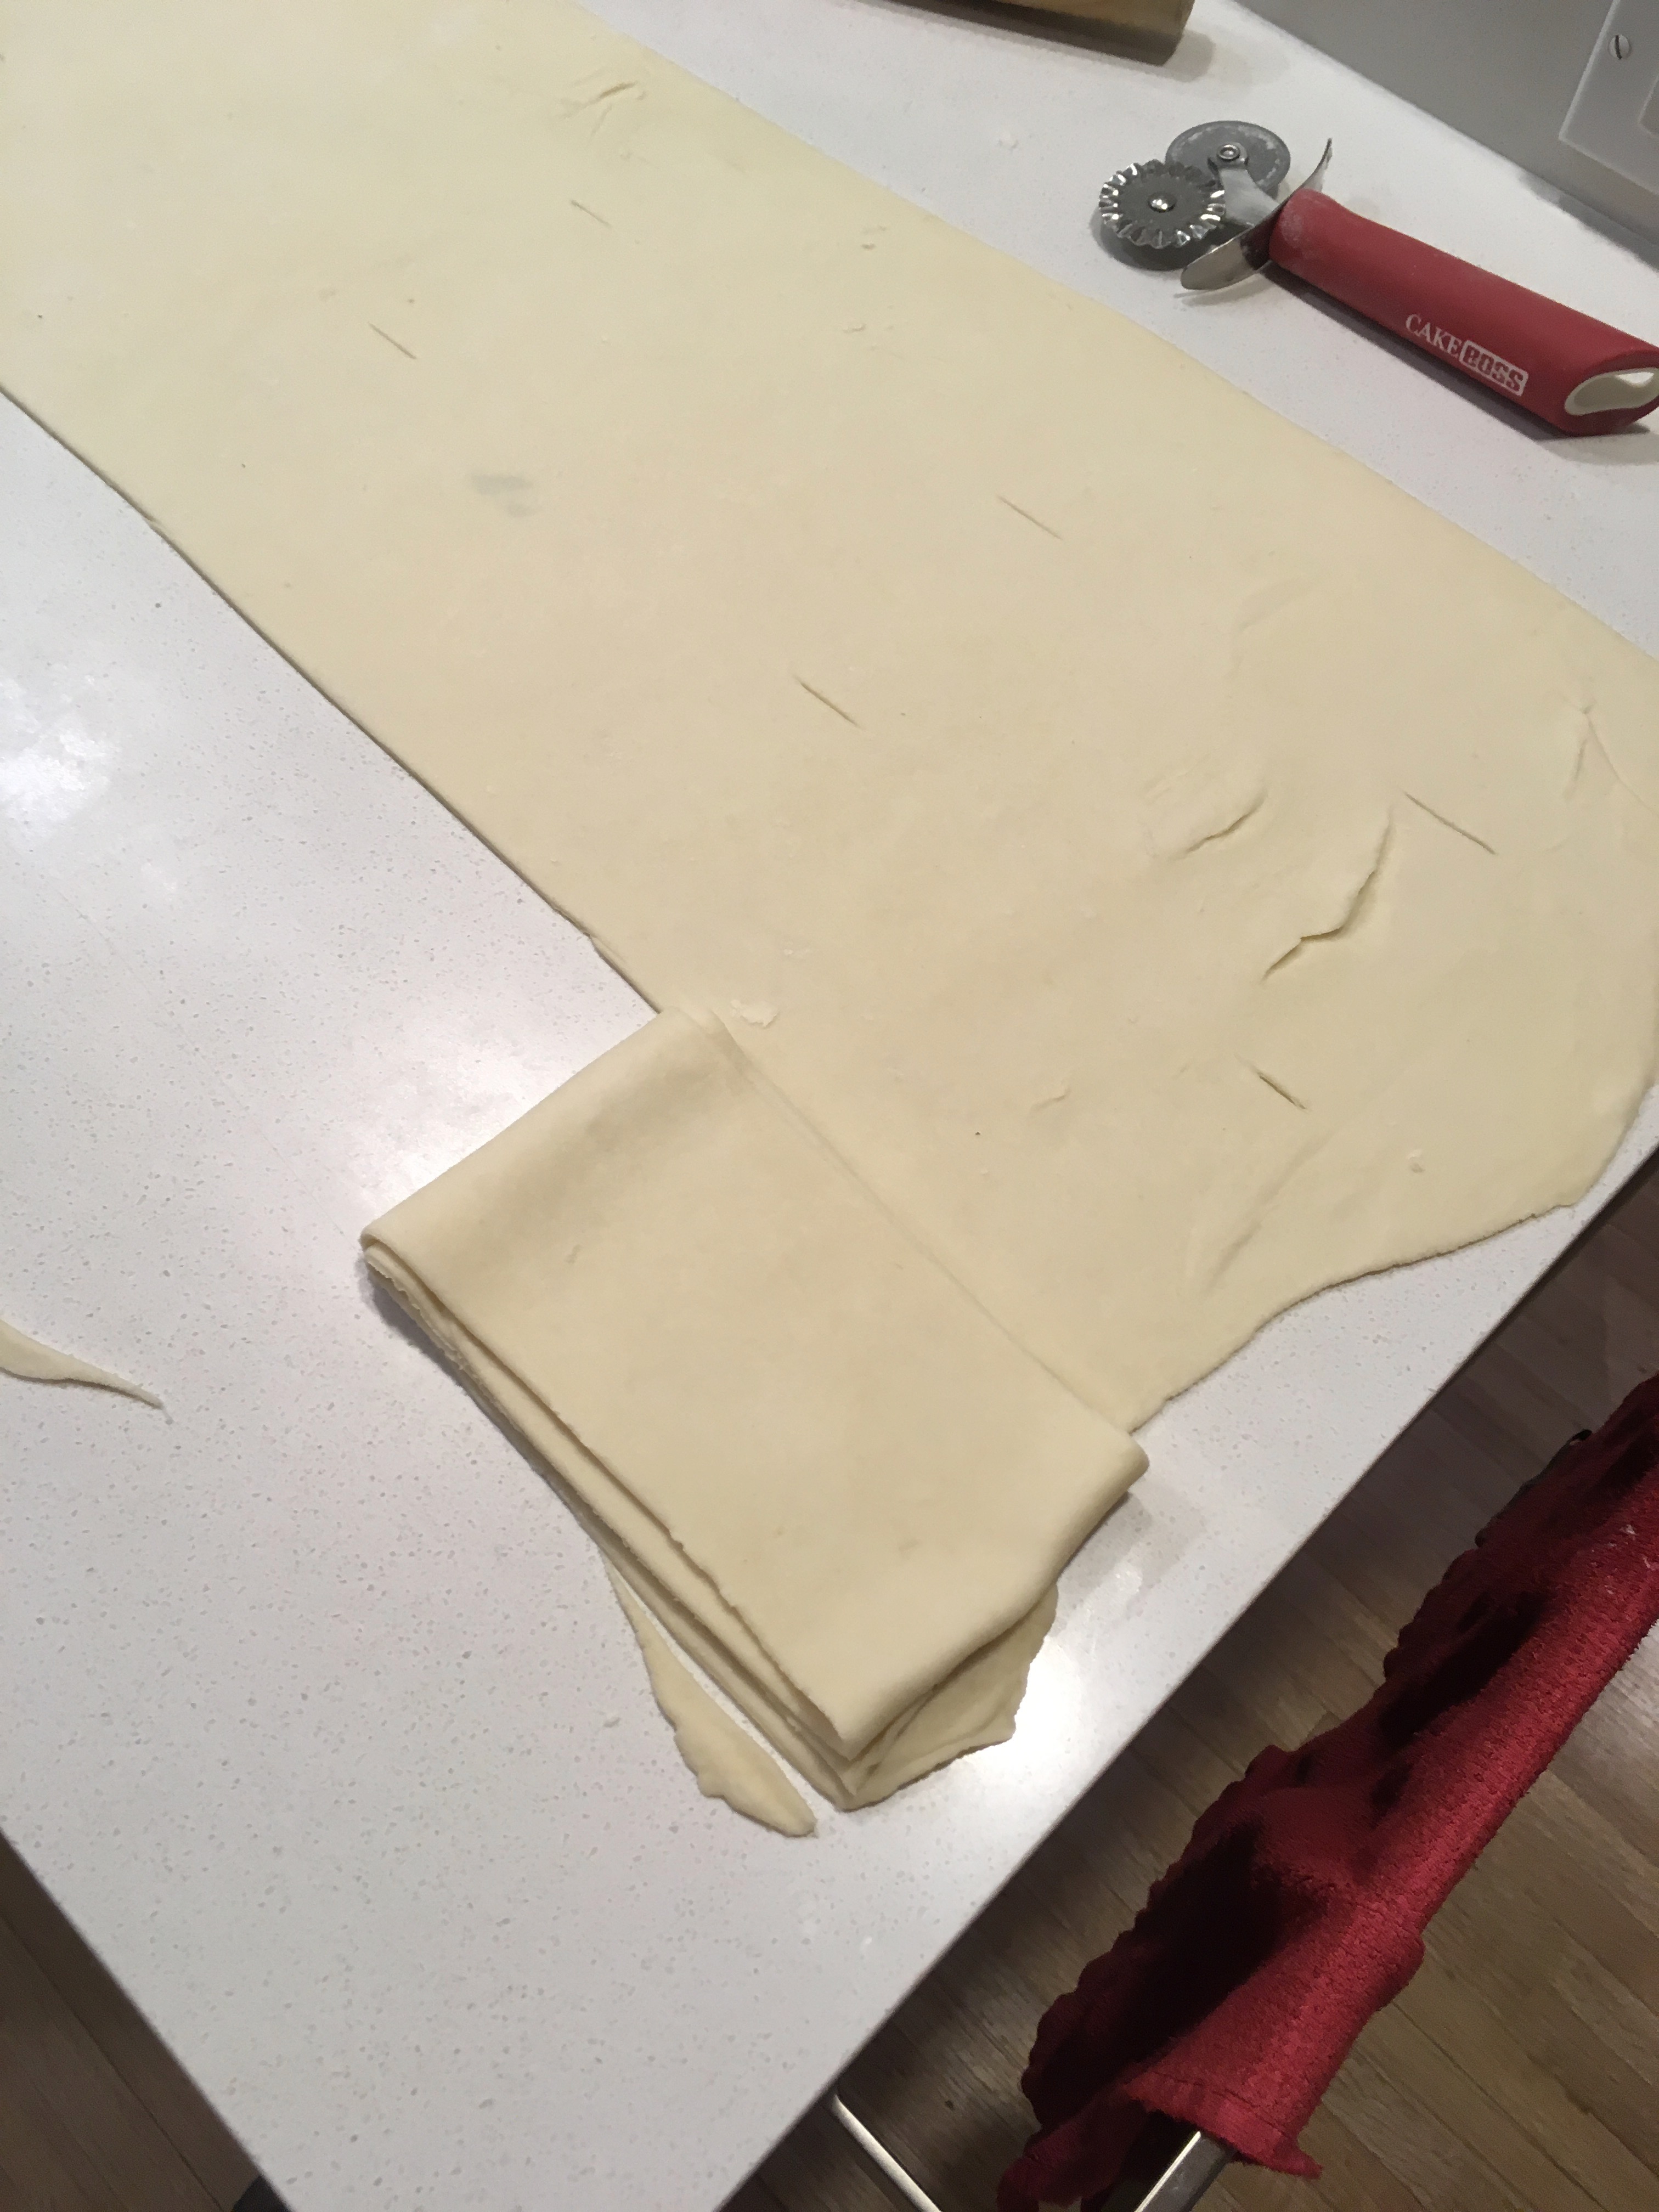
- If the dough becomes too warm and soft, you can roll it up on your rolling pin and
lay it on a parchment-paper-lined baking sheet and put it in the refrigerator until it
cools and firms up so that you can continue working.
- When the puff pastry is rolled out, trim the edges to obtain a perfect rectangle.
- Using a ruler divide the pastry into the same number of strips that you divided the filling in
the baking sheet with the pastry dough:
- Make small cuts at both end of the pastry to mark the cuts.
- Use the edge of the baking sheet as a guide to cut the strips.
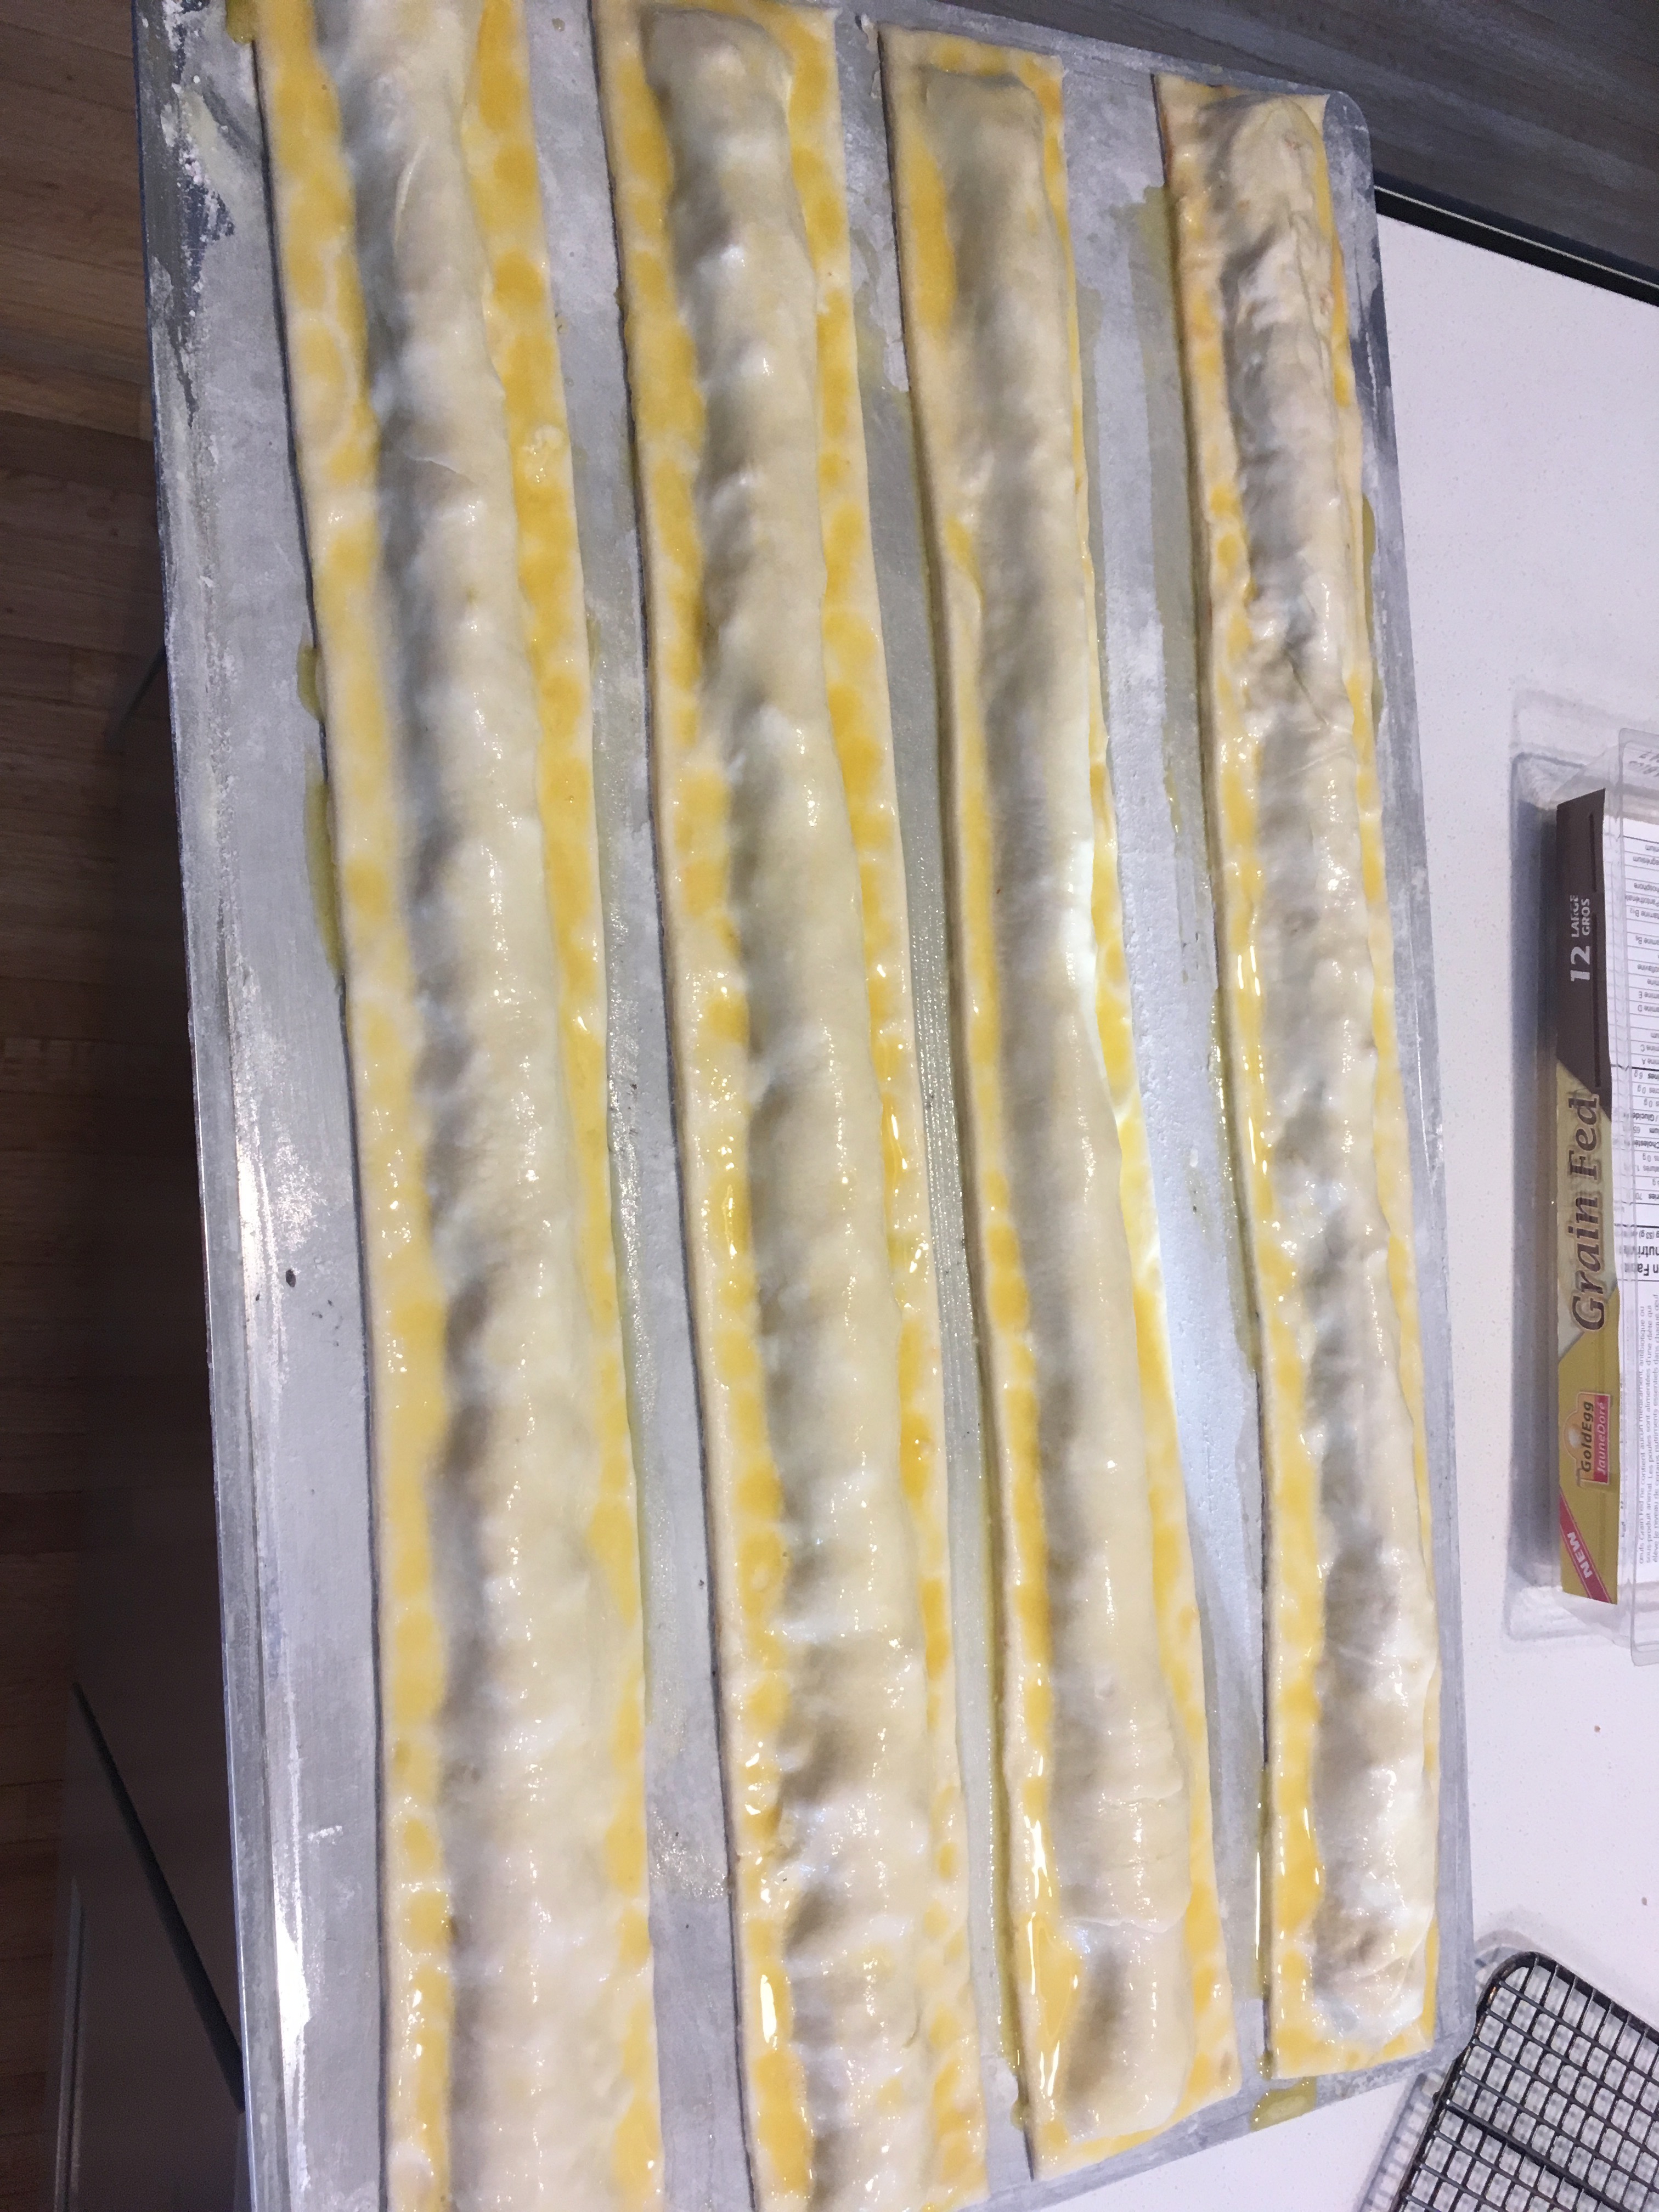
- Lay the top pastry:
- Bring the baking sheet with the pastry dough and chicken filling out of the
refrigerator.
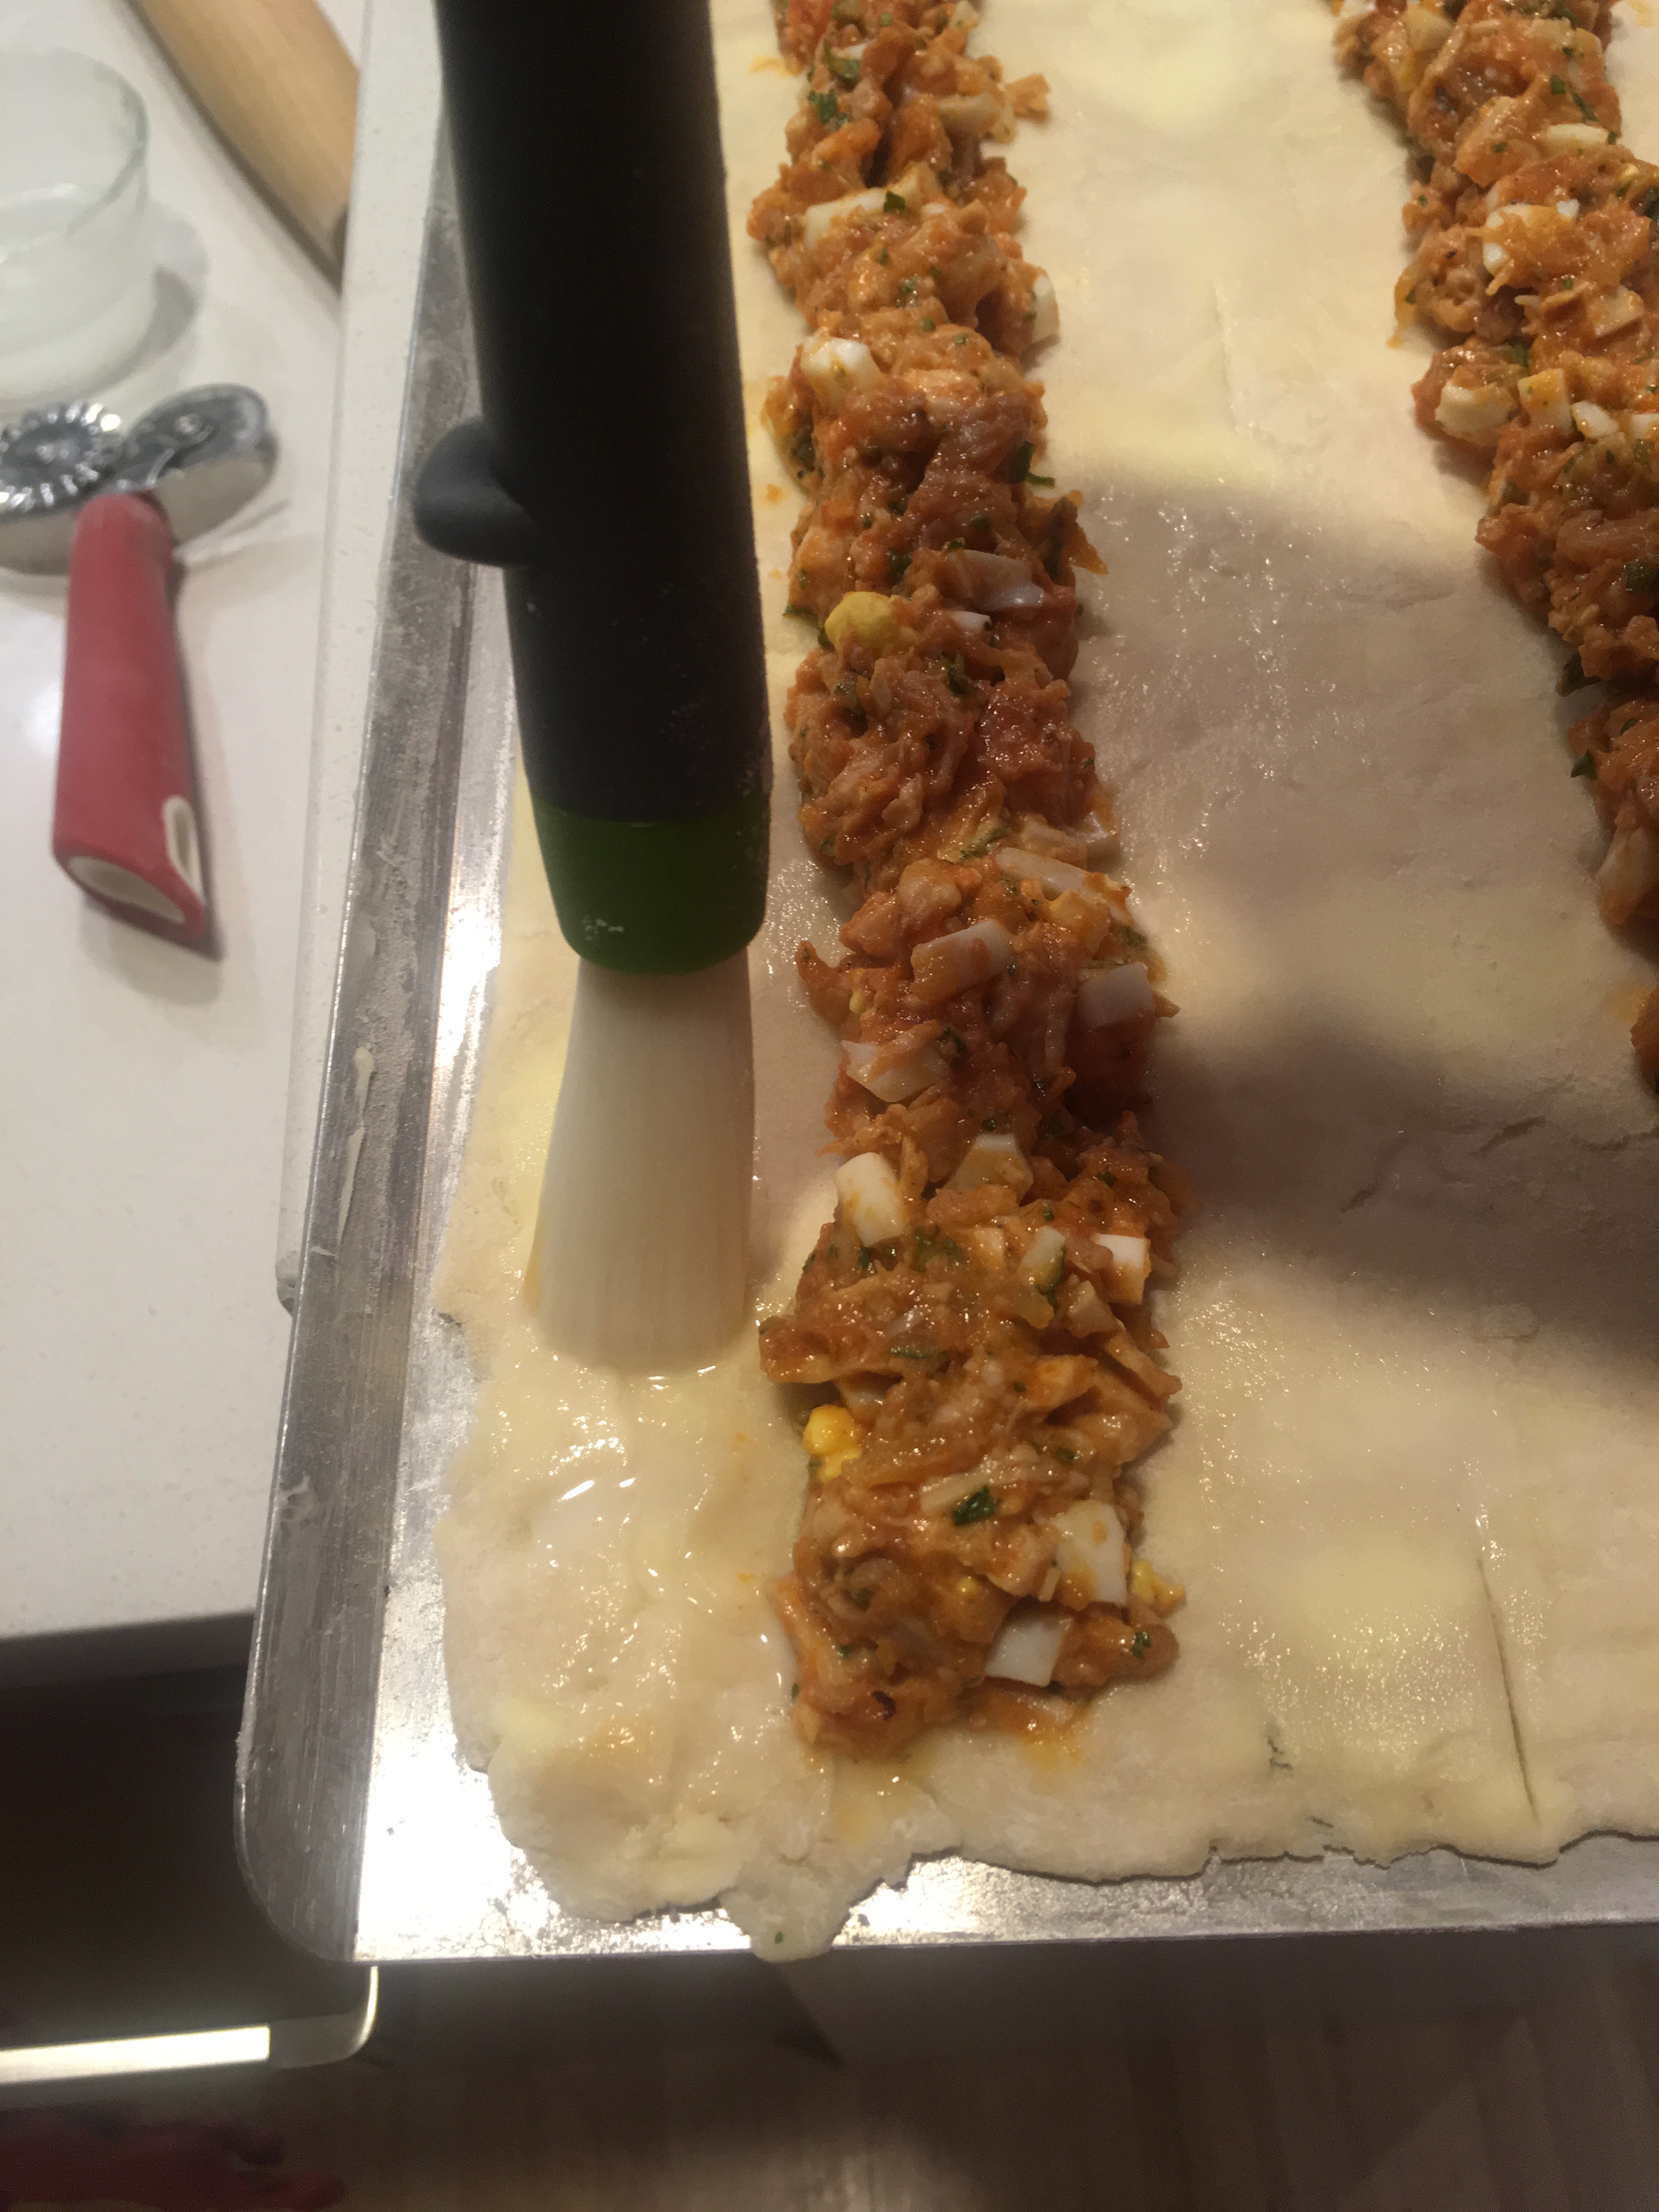
- Pour water in a small bowl.
- Using either the tip of your fingers or a pastry brush, brush a 1/2 inch strip of water
along both sides of the chicken filling along the first strip.
- Gently fold one of the strips of pastry dough in half. You may fold a second time to
make it easier to handle.
- Lift the dough strip and carefully put over one-half or one quart of a strip of chicken
filling.
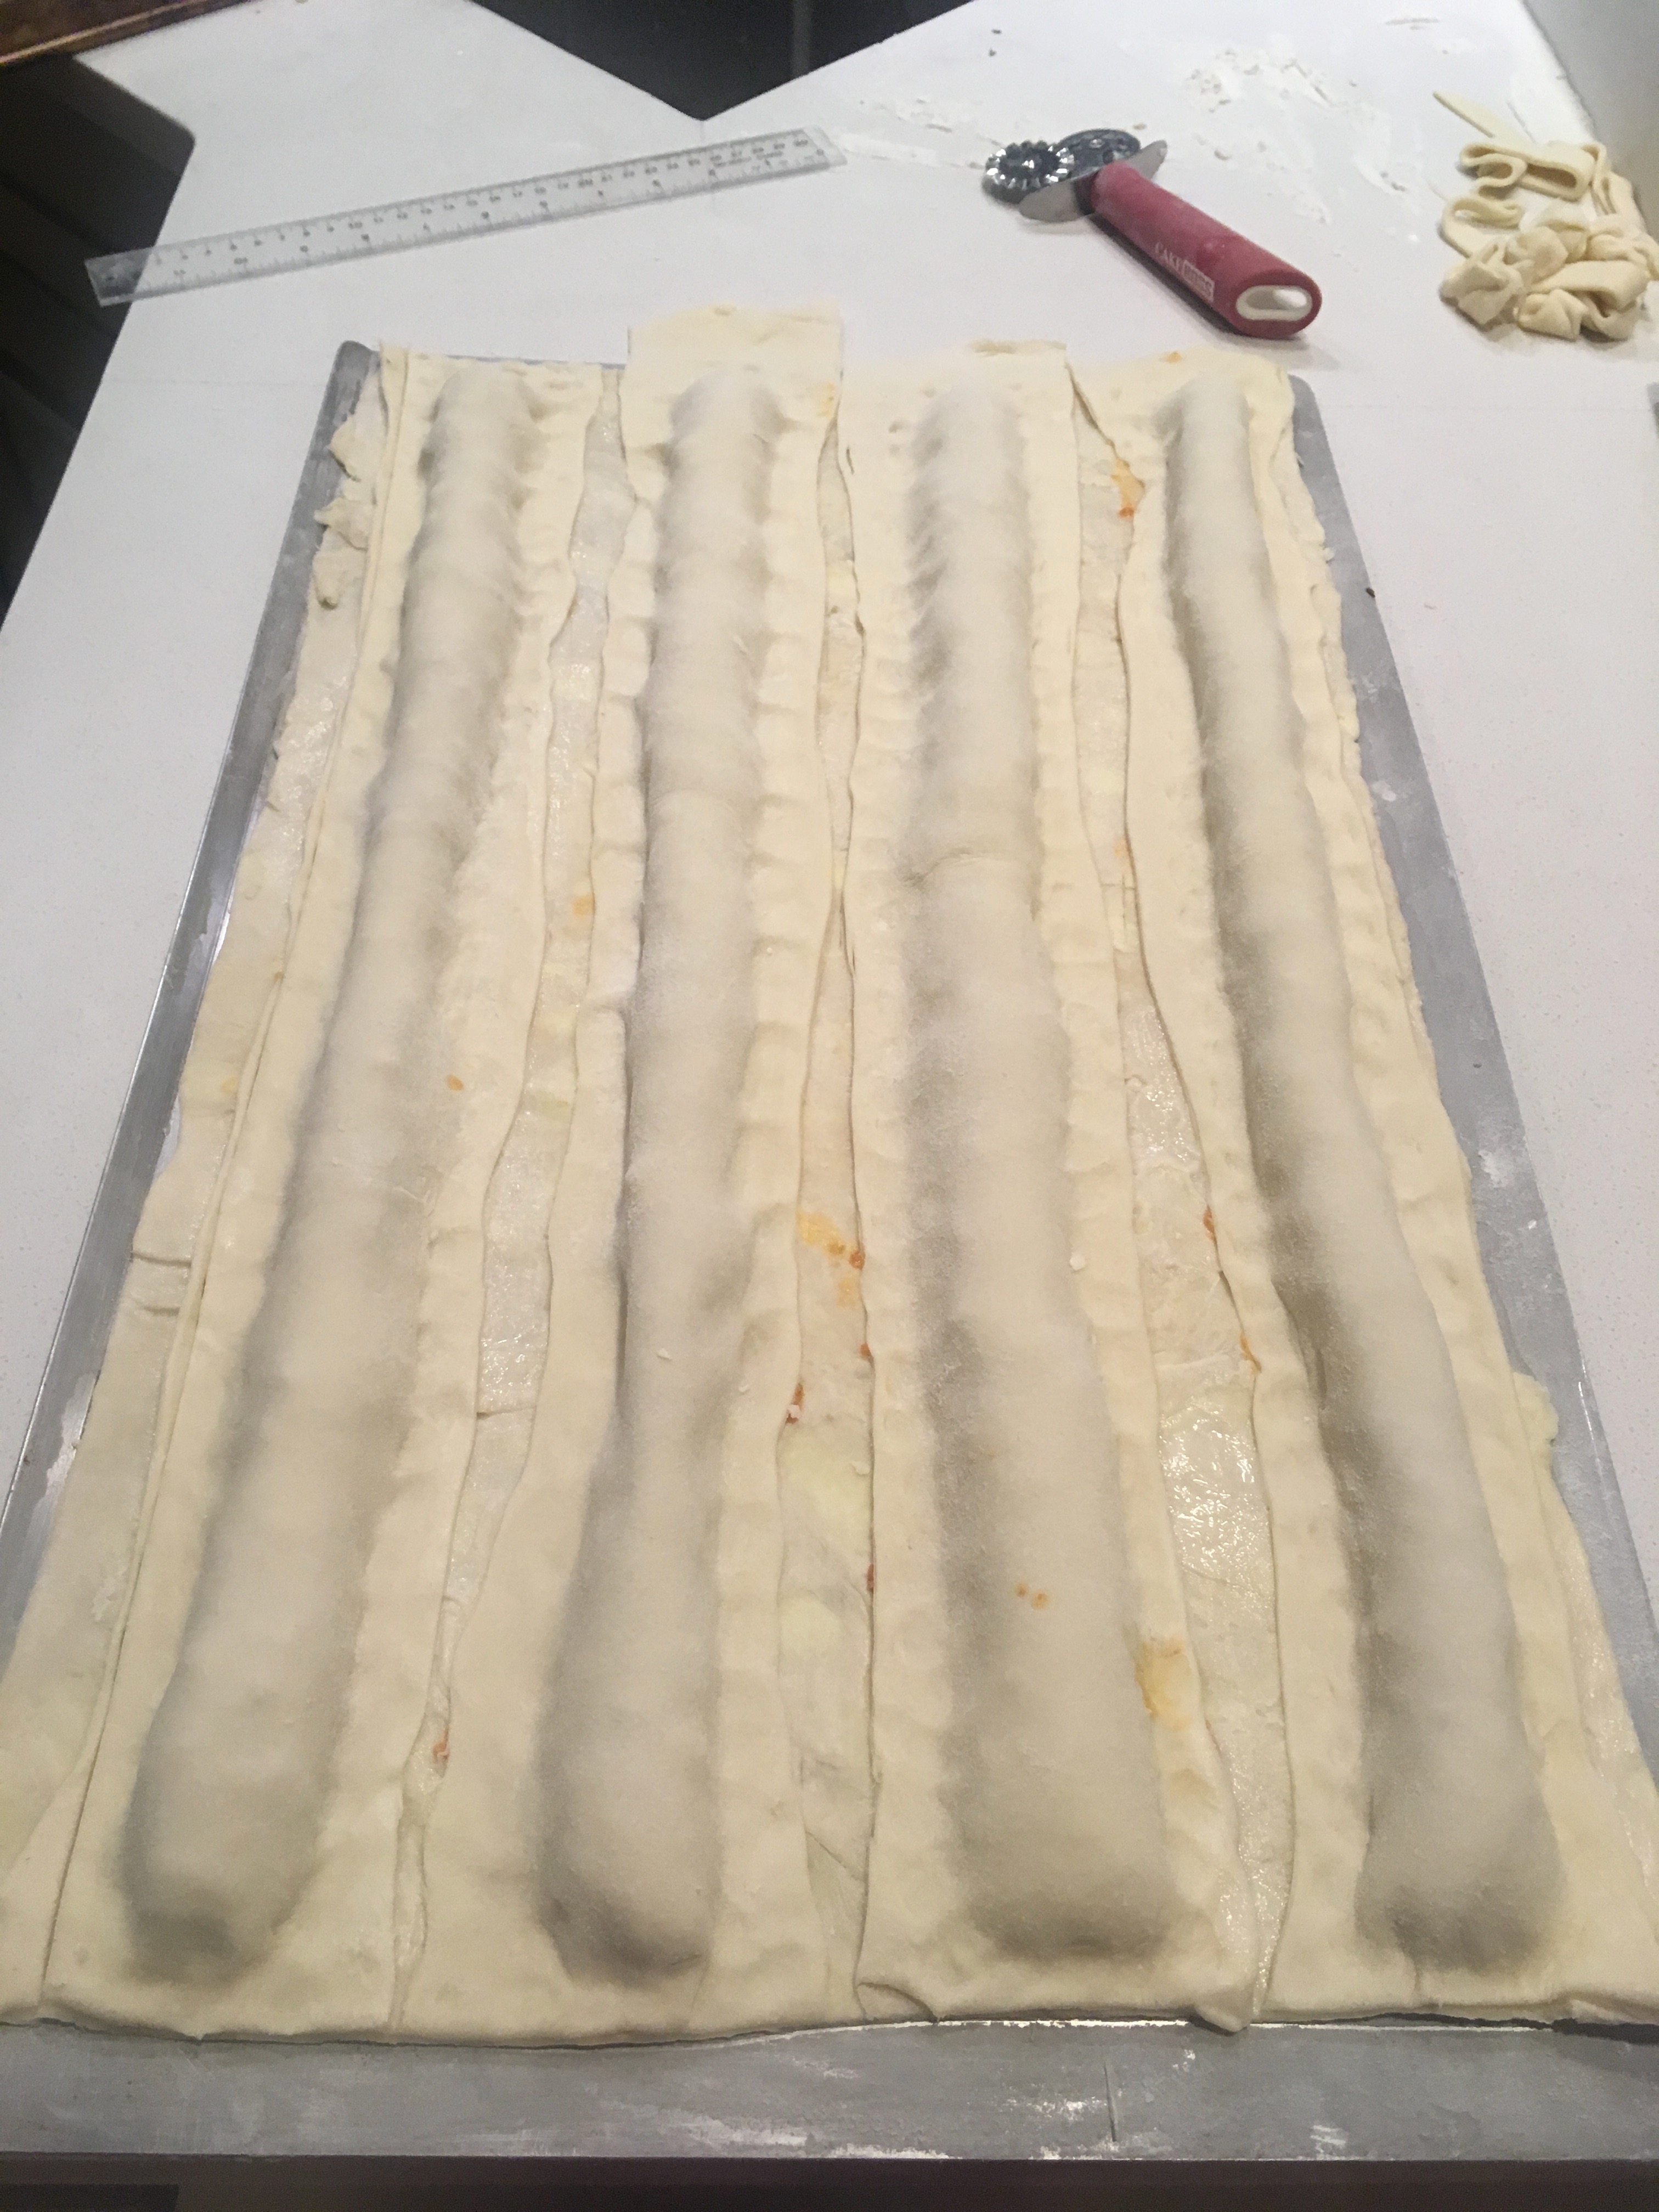
- Unfold the dough strip to cover the entire strip of filling.
- With dry finger, gently press the edges of the puff pastry strip all along both edges
of the chicken filling strips.
- Repeat with other strips.
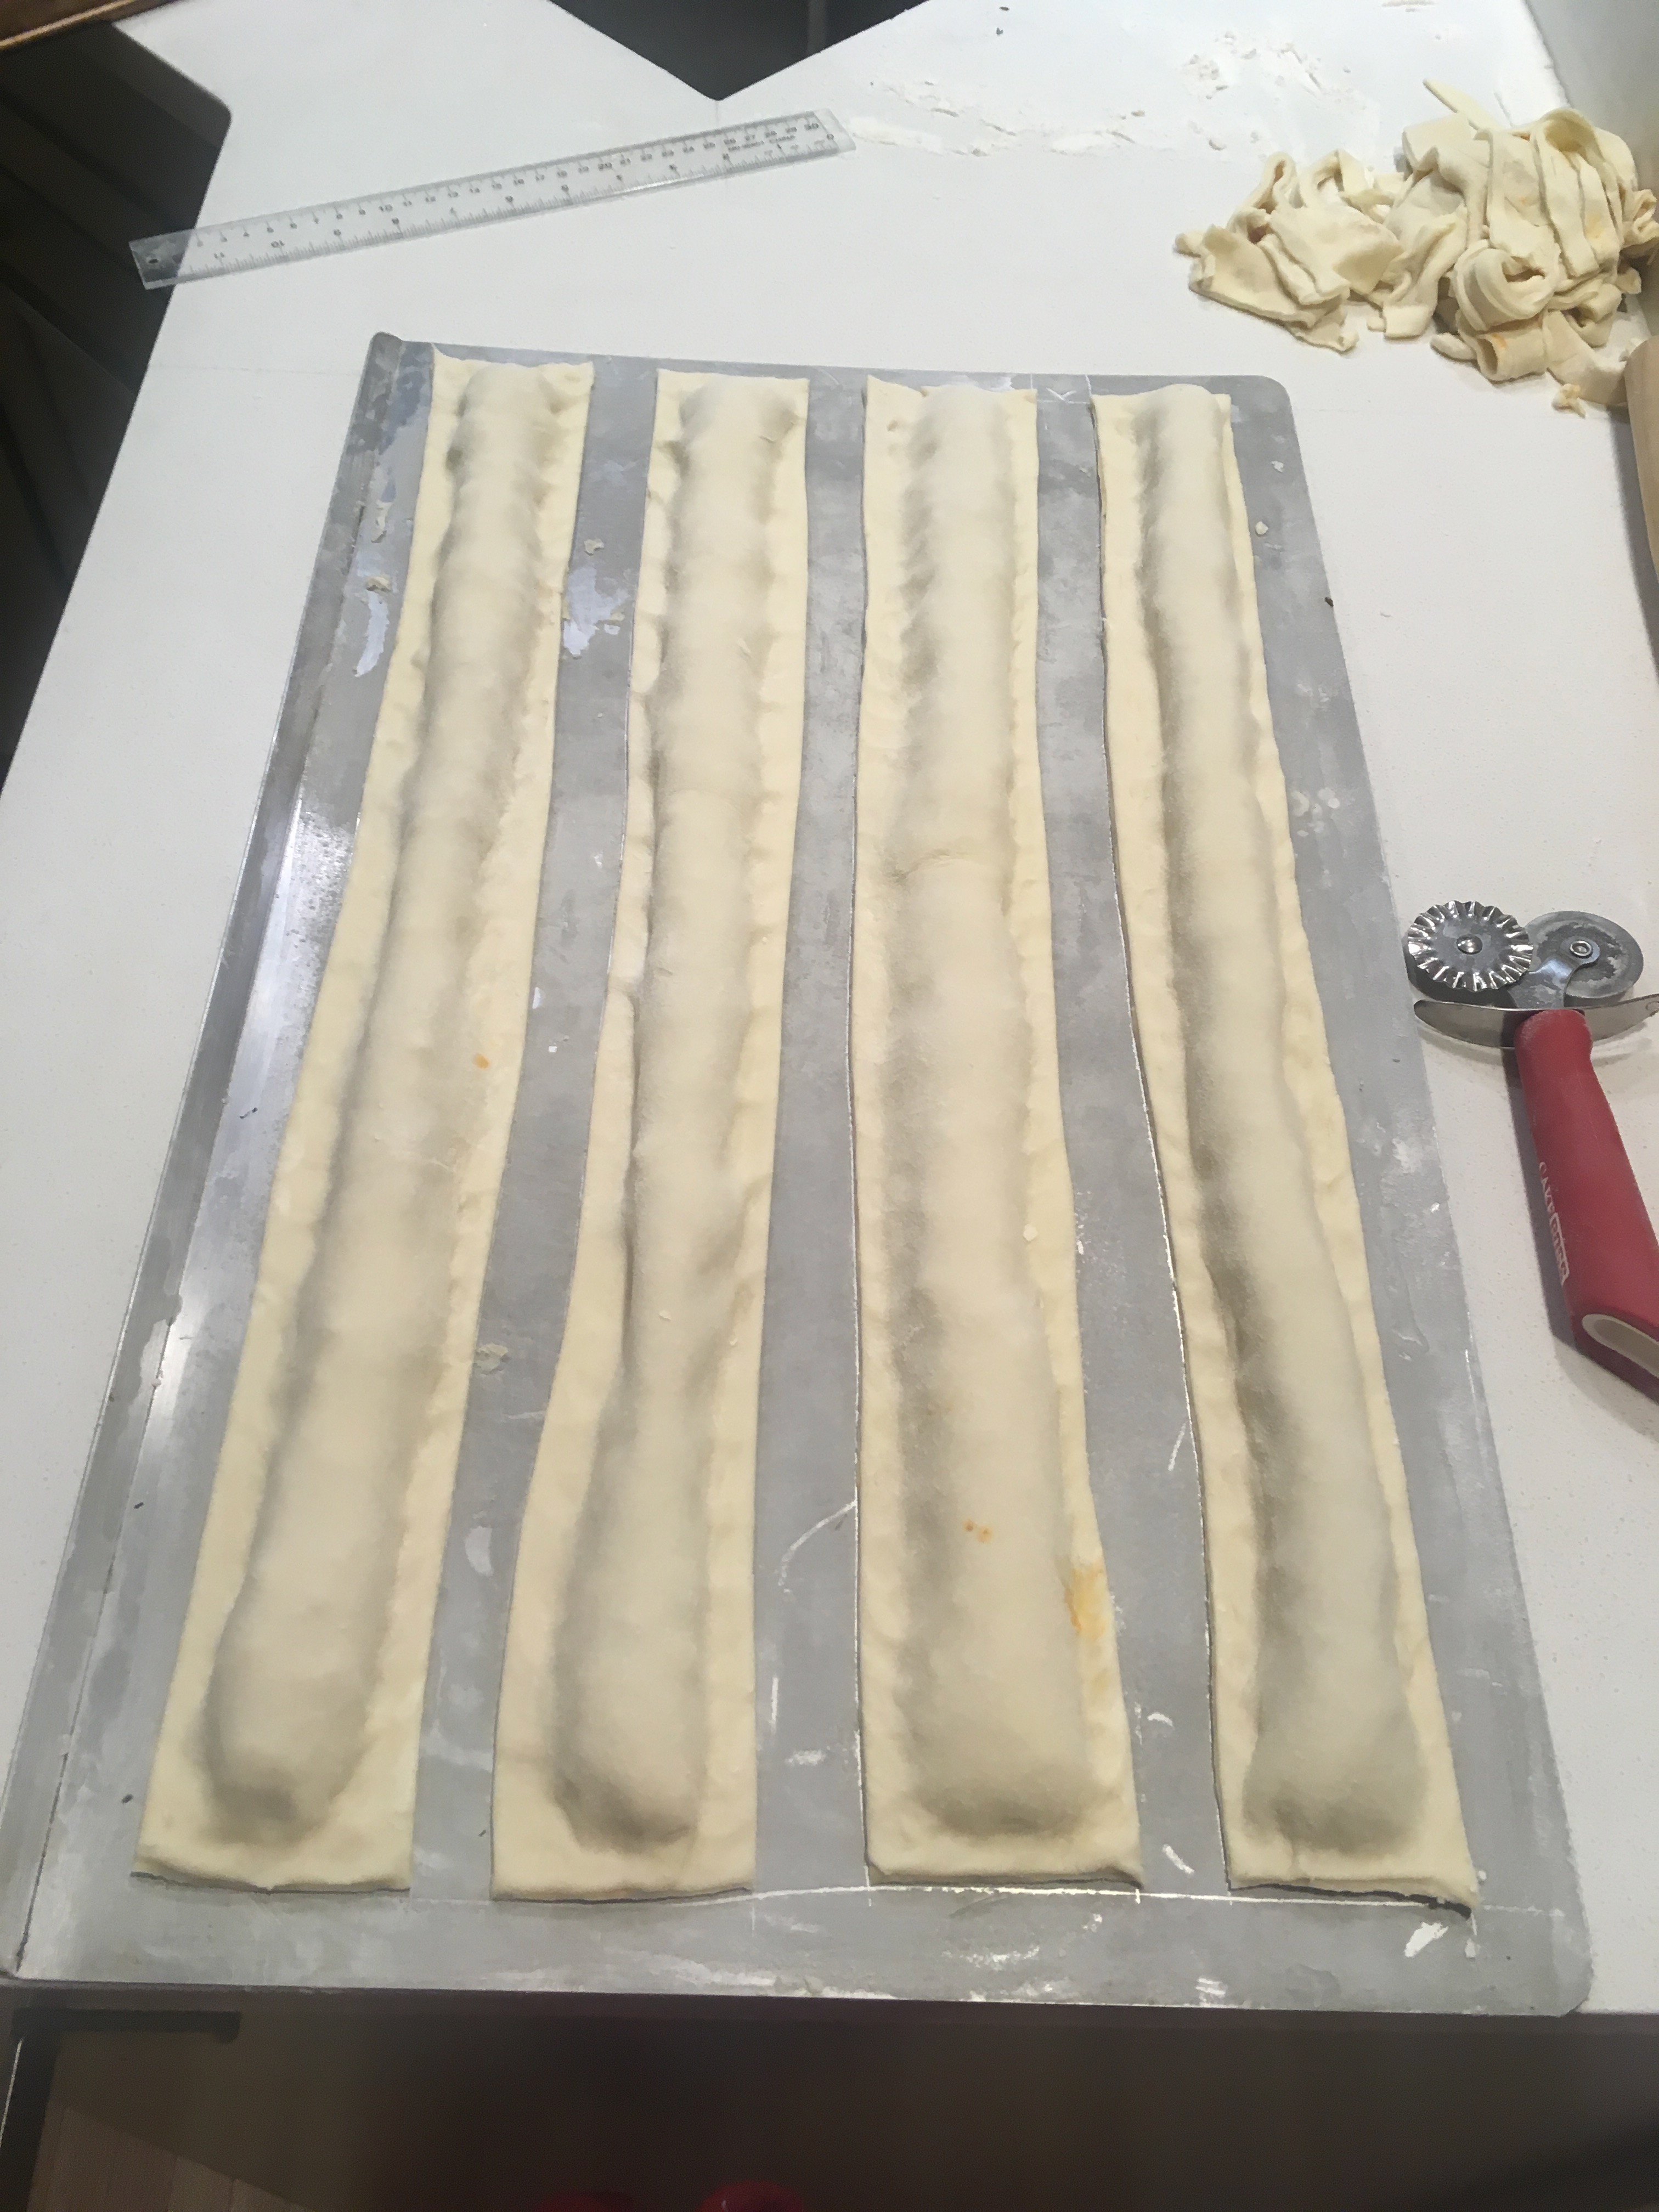
- There should be a narrow strip of uncovered pastry dough between the strips, and
perhaps on the outside edges, of each strip of covered chicken filling. Make long
straight cuts along the edge of the puff pastry and remove this extra dough so that
you have clean edges for each strip. Best is to use a round pizza cutter.
- Cover the baking sheet with plastic wrap and put in the refrigerator for at least one
hour (you can refrigerate for up to 24 hours).
- Bake the Pastries:
- Position a rack in the upper middle part of the oven, and pre-heat the oven to 410
F.
- Beat an egg and a pinch of salt in a small bowl until it is well stirred but not foamy.
- Using a pastry brush, throughly brush the top of each strip of filled pastry with the
beaten egg.
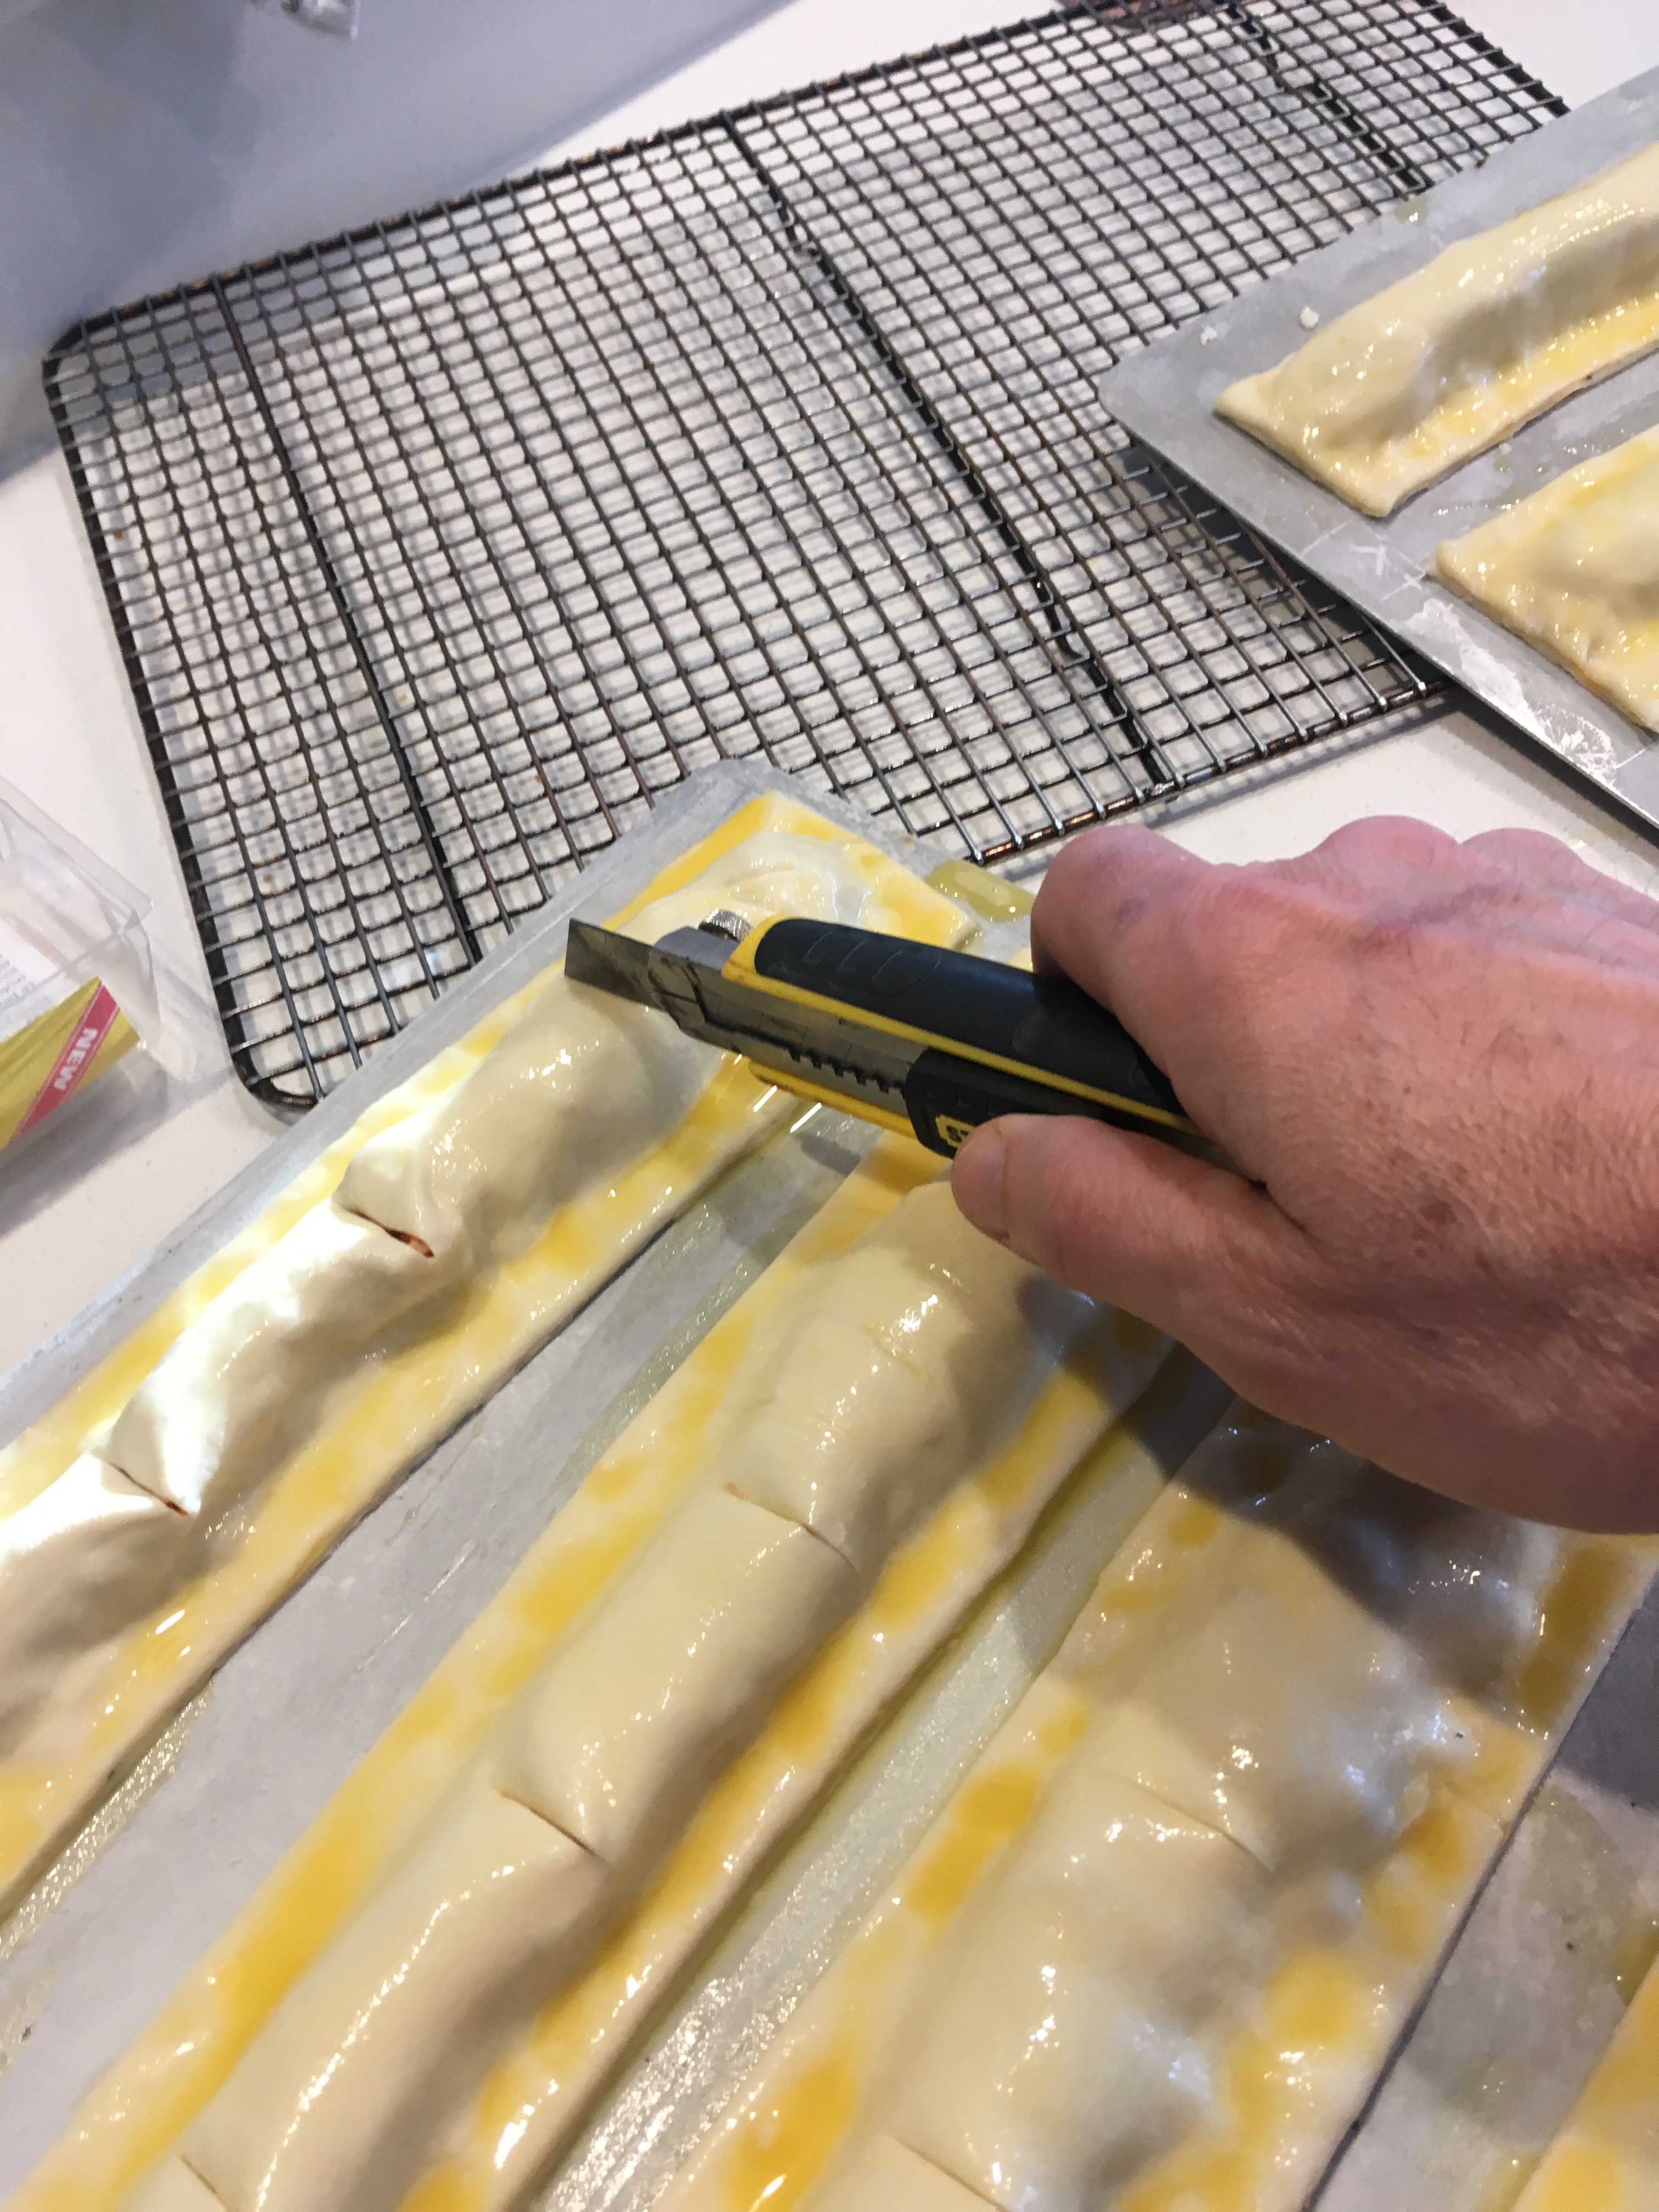
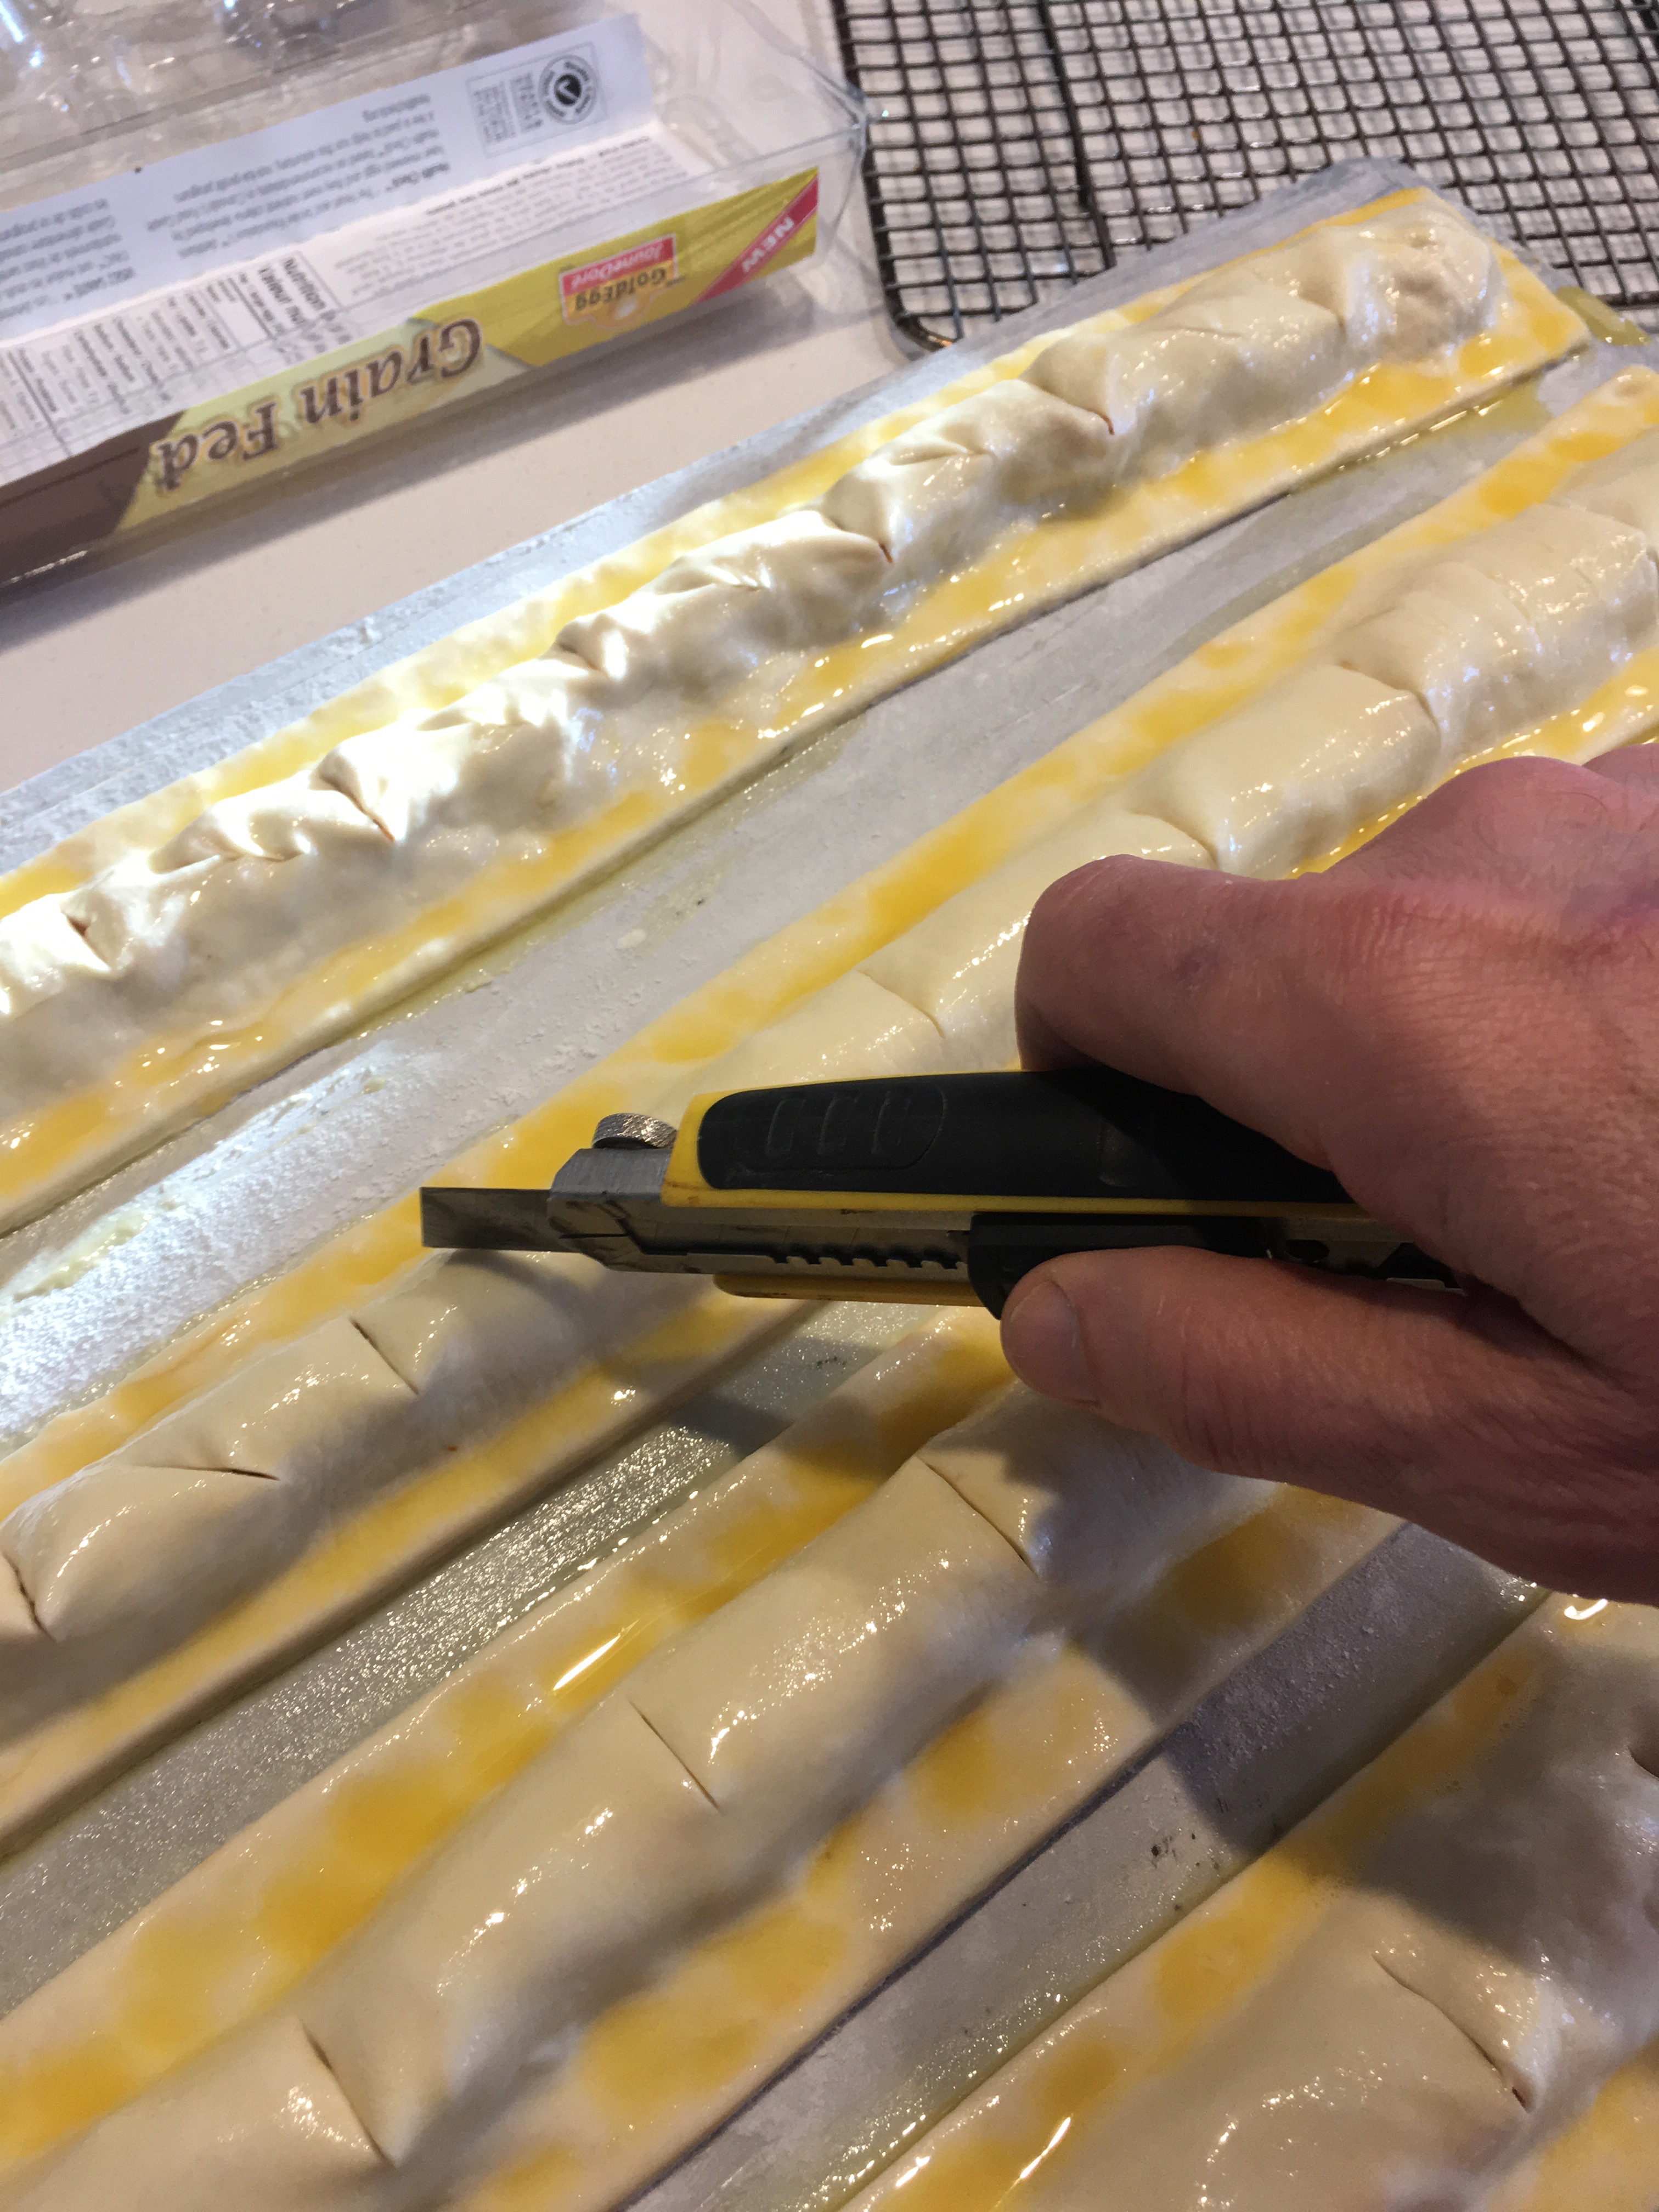
- Using the box cutter, make small (up to 1 inch long) evenly spaced cross cuts on the
top of the strips. These cuts are where you will slice the strips after they are baked,
thus make them for the size of pastries that you want.
- If you decided to make each segment 2 inches or longer, then make a second small
diagonal cut on top of each segment.
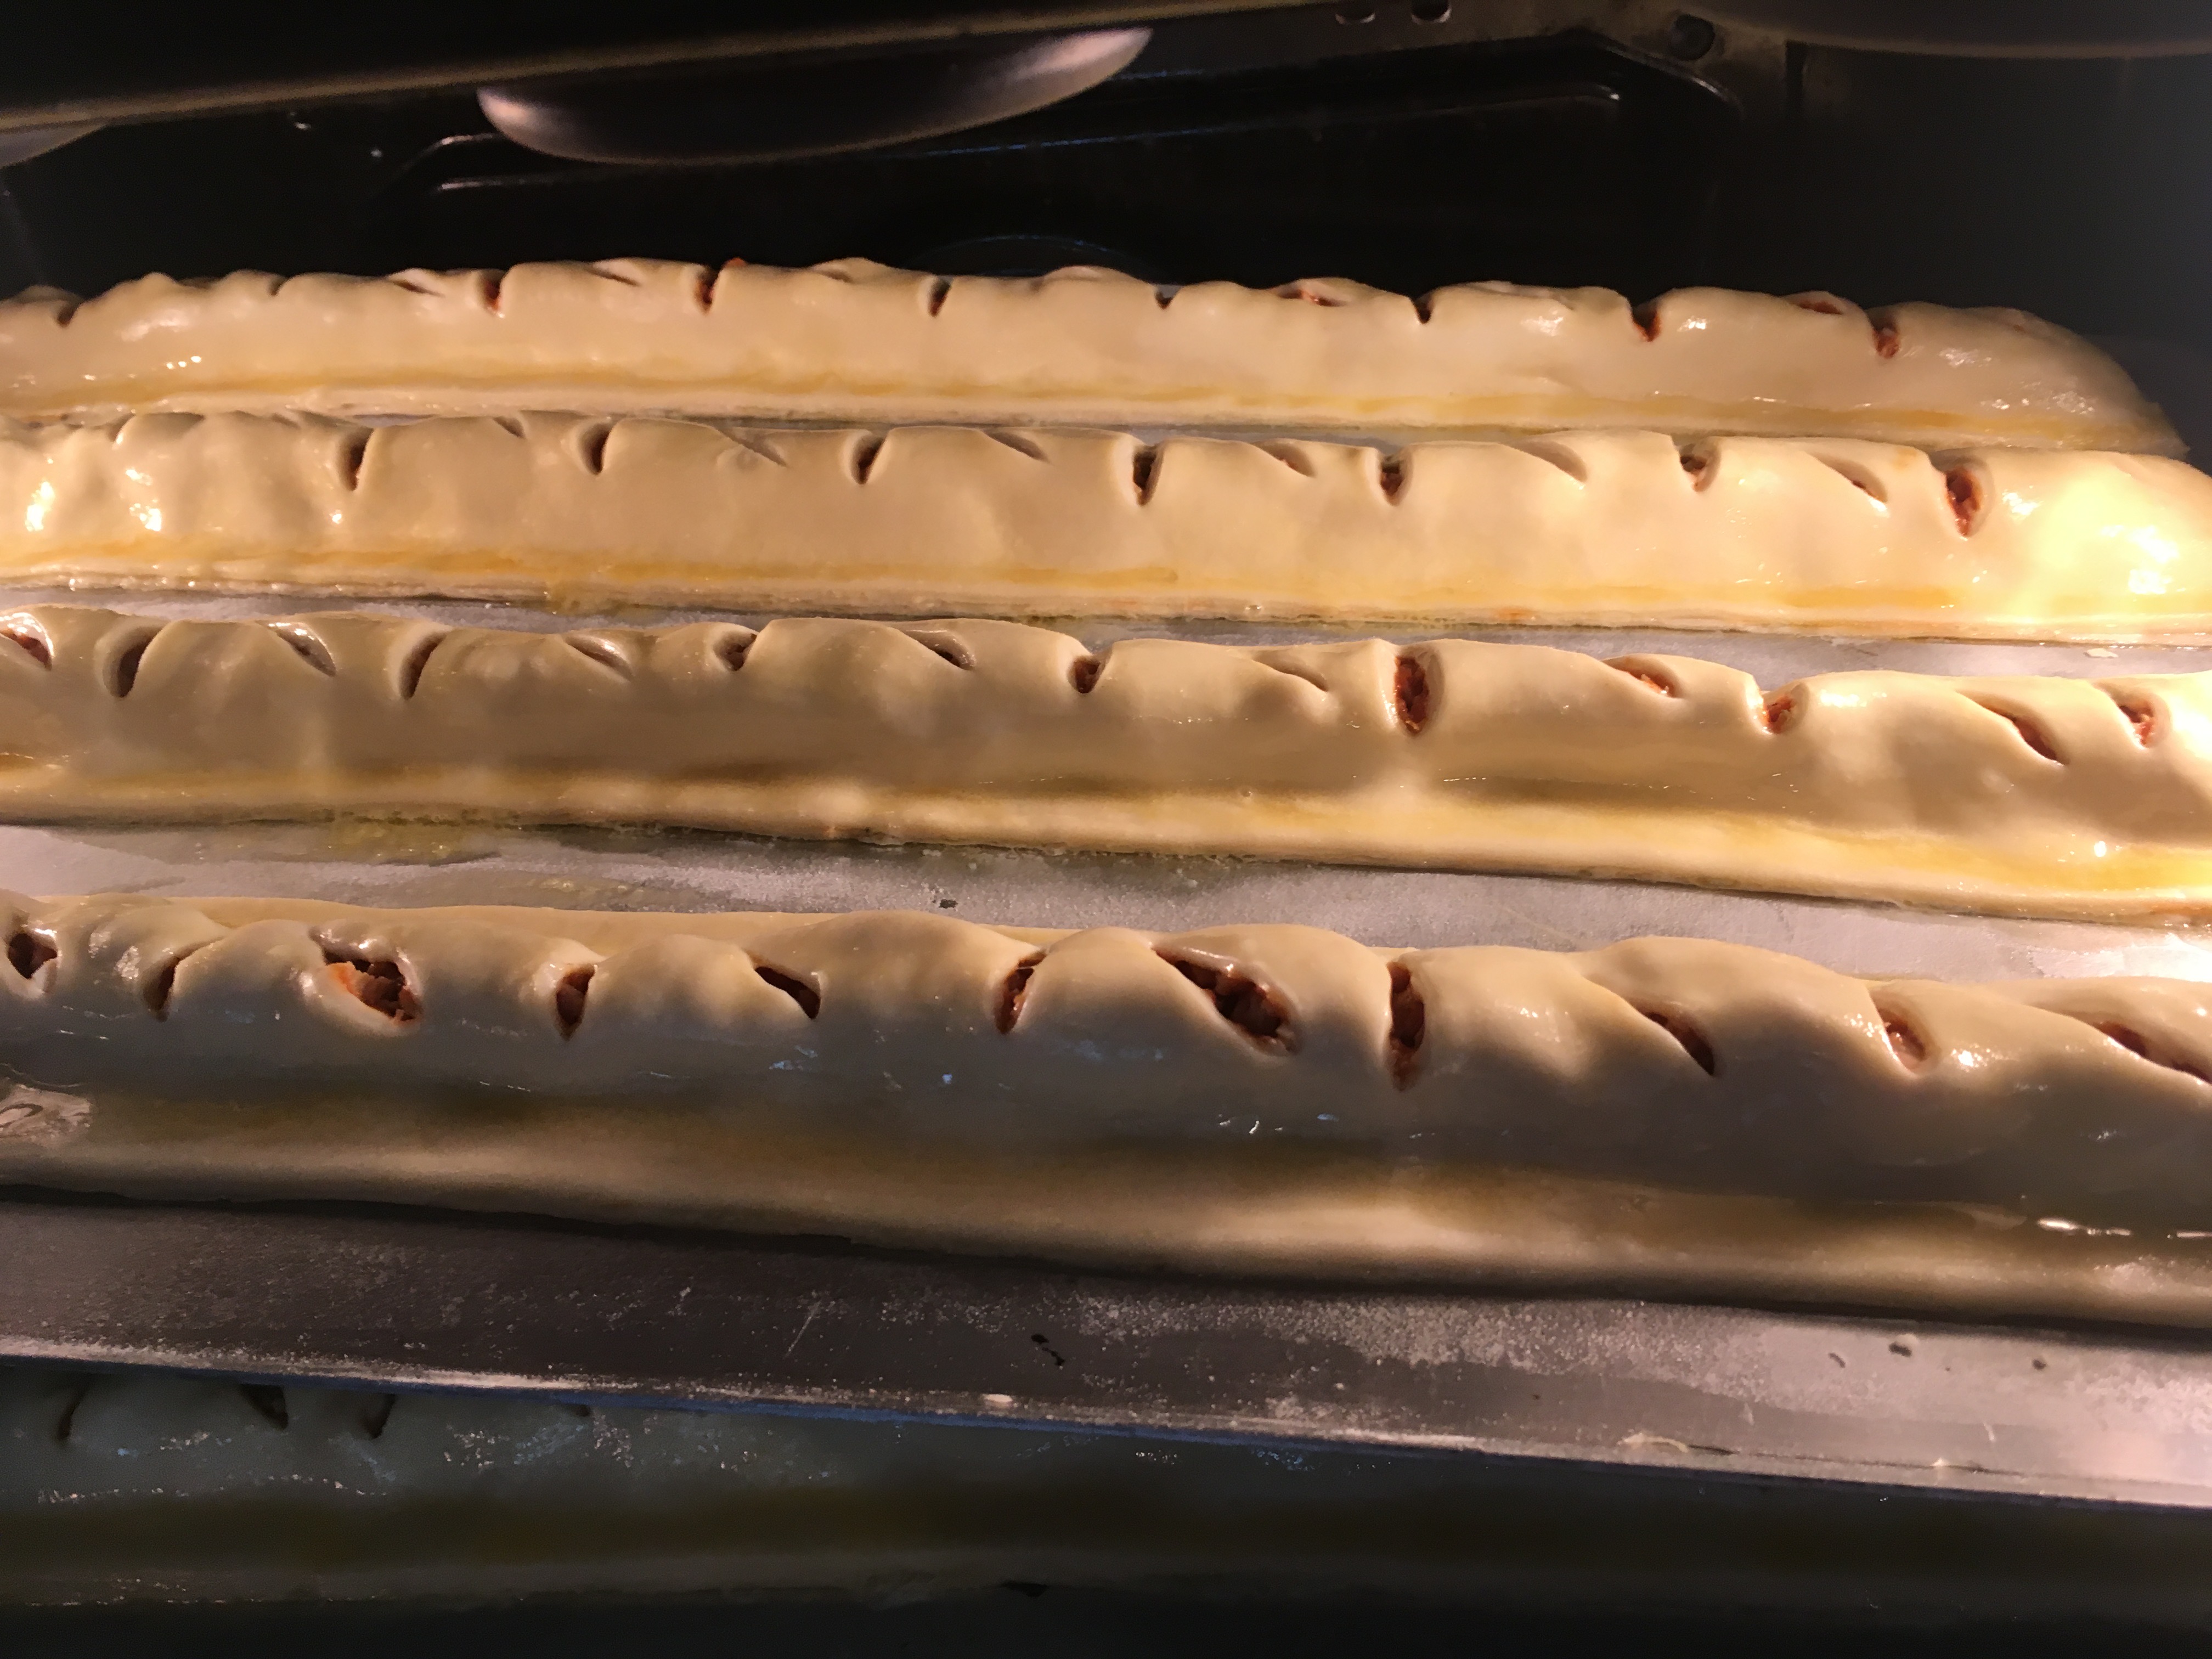
- Bake in a hot oven (400 F) until the pastry has puffed and has reached a beautiful
golden colour (about 40 minutes). For better results, rotate the baking sheet after
25 minutes.
- Let cool for 15 minutes.
- Using a good bread knife, cut along the perpendicular. cuts that you made before
baking.
- Put the pastries on a wire rack to cool.
- It can be served warm or cool.